

 A bipod is mandatory for precision rifle competition shooting. They are highly recommended on any rifle that needs to be easily portable and very precise. Bipod prices can range from dirt cheap to extremely expensive, with quality all over the spectrum. The Caldwell XLA Pivot Model falls somewhere in the middle at $35.
My first precision rifle bipod was the Harris BRM-S 6-9″ model. If there is a “standard” bipod, this is the one. No other bipod has seen more use in competition and combat on bolt action rifles than the Harris. They are relatively simple, durable in the field and can be completely disassembled with a simple multi-tool. Other than some occasional lubrication, there isn’t much maintenance that needs to be done to keep them in working order. It really isn’t hard to see why they are so popular. However, they are not inexpensive. Currently the Harris Engineering BRM-S 6-9″ bipod lists for just over one hundred dollars.
If you have $100 to spend on a bipod, the BRM-S is an excellent choice and the 6-9″ or 9-13″ (for gas-gunners or shooters with more girth) is an excellent choice. You can probably stop reading here and save yourself some time and trouble. However, if you are the guy who is rolling couch-change for ammo money or you just like to save where you can, read on.
Recently I have seen a number of clone/copy bipods show up at local and intermediate level national matches. Some are just Airsoft garbage that have no business on real-steel. Some are blatant ripoffs that violate another company’s patent. However, there is a middle ground. That is where the Caldwell XLA bipods sit.
 The Caldwell XLA is a copy of the Harris Engineering design. I do wish to point out that this is a LEGAL copy of the design. Harris Engineering applied for a Patent for it’s design in 1965 and was granted a patent in 1967. That patent has since expired. It is now legal for other companies to manufacture that design without paying license to Harris Engineering.
The Caldwell XLA Pivot Model 6-9″ is not an exact copy of the Harris BRM-S 6-9″, however it is close enough that if I peeled the Caldwell sticker off, most shooters would not be able to tell the difference. If you have used a Harris for a good deal of time, you will be able to tell the difference.
When I took the Caldwell out of its plastic bubble pack, I immediately noticed that it felt lighter and cheaper. The impression of less weight was substantiated when I put it on the scale. Harris BRM-S 6-9″ weighs in at 13.9 oz. The Caldwell XLA is 11.2 oz. While our Harris currently wears a KMW Pod-loc, I believe the main source of the weight difference is the material thickness in some of the components.
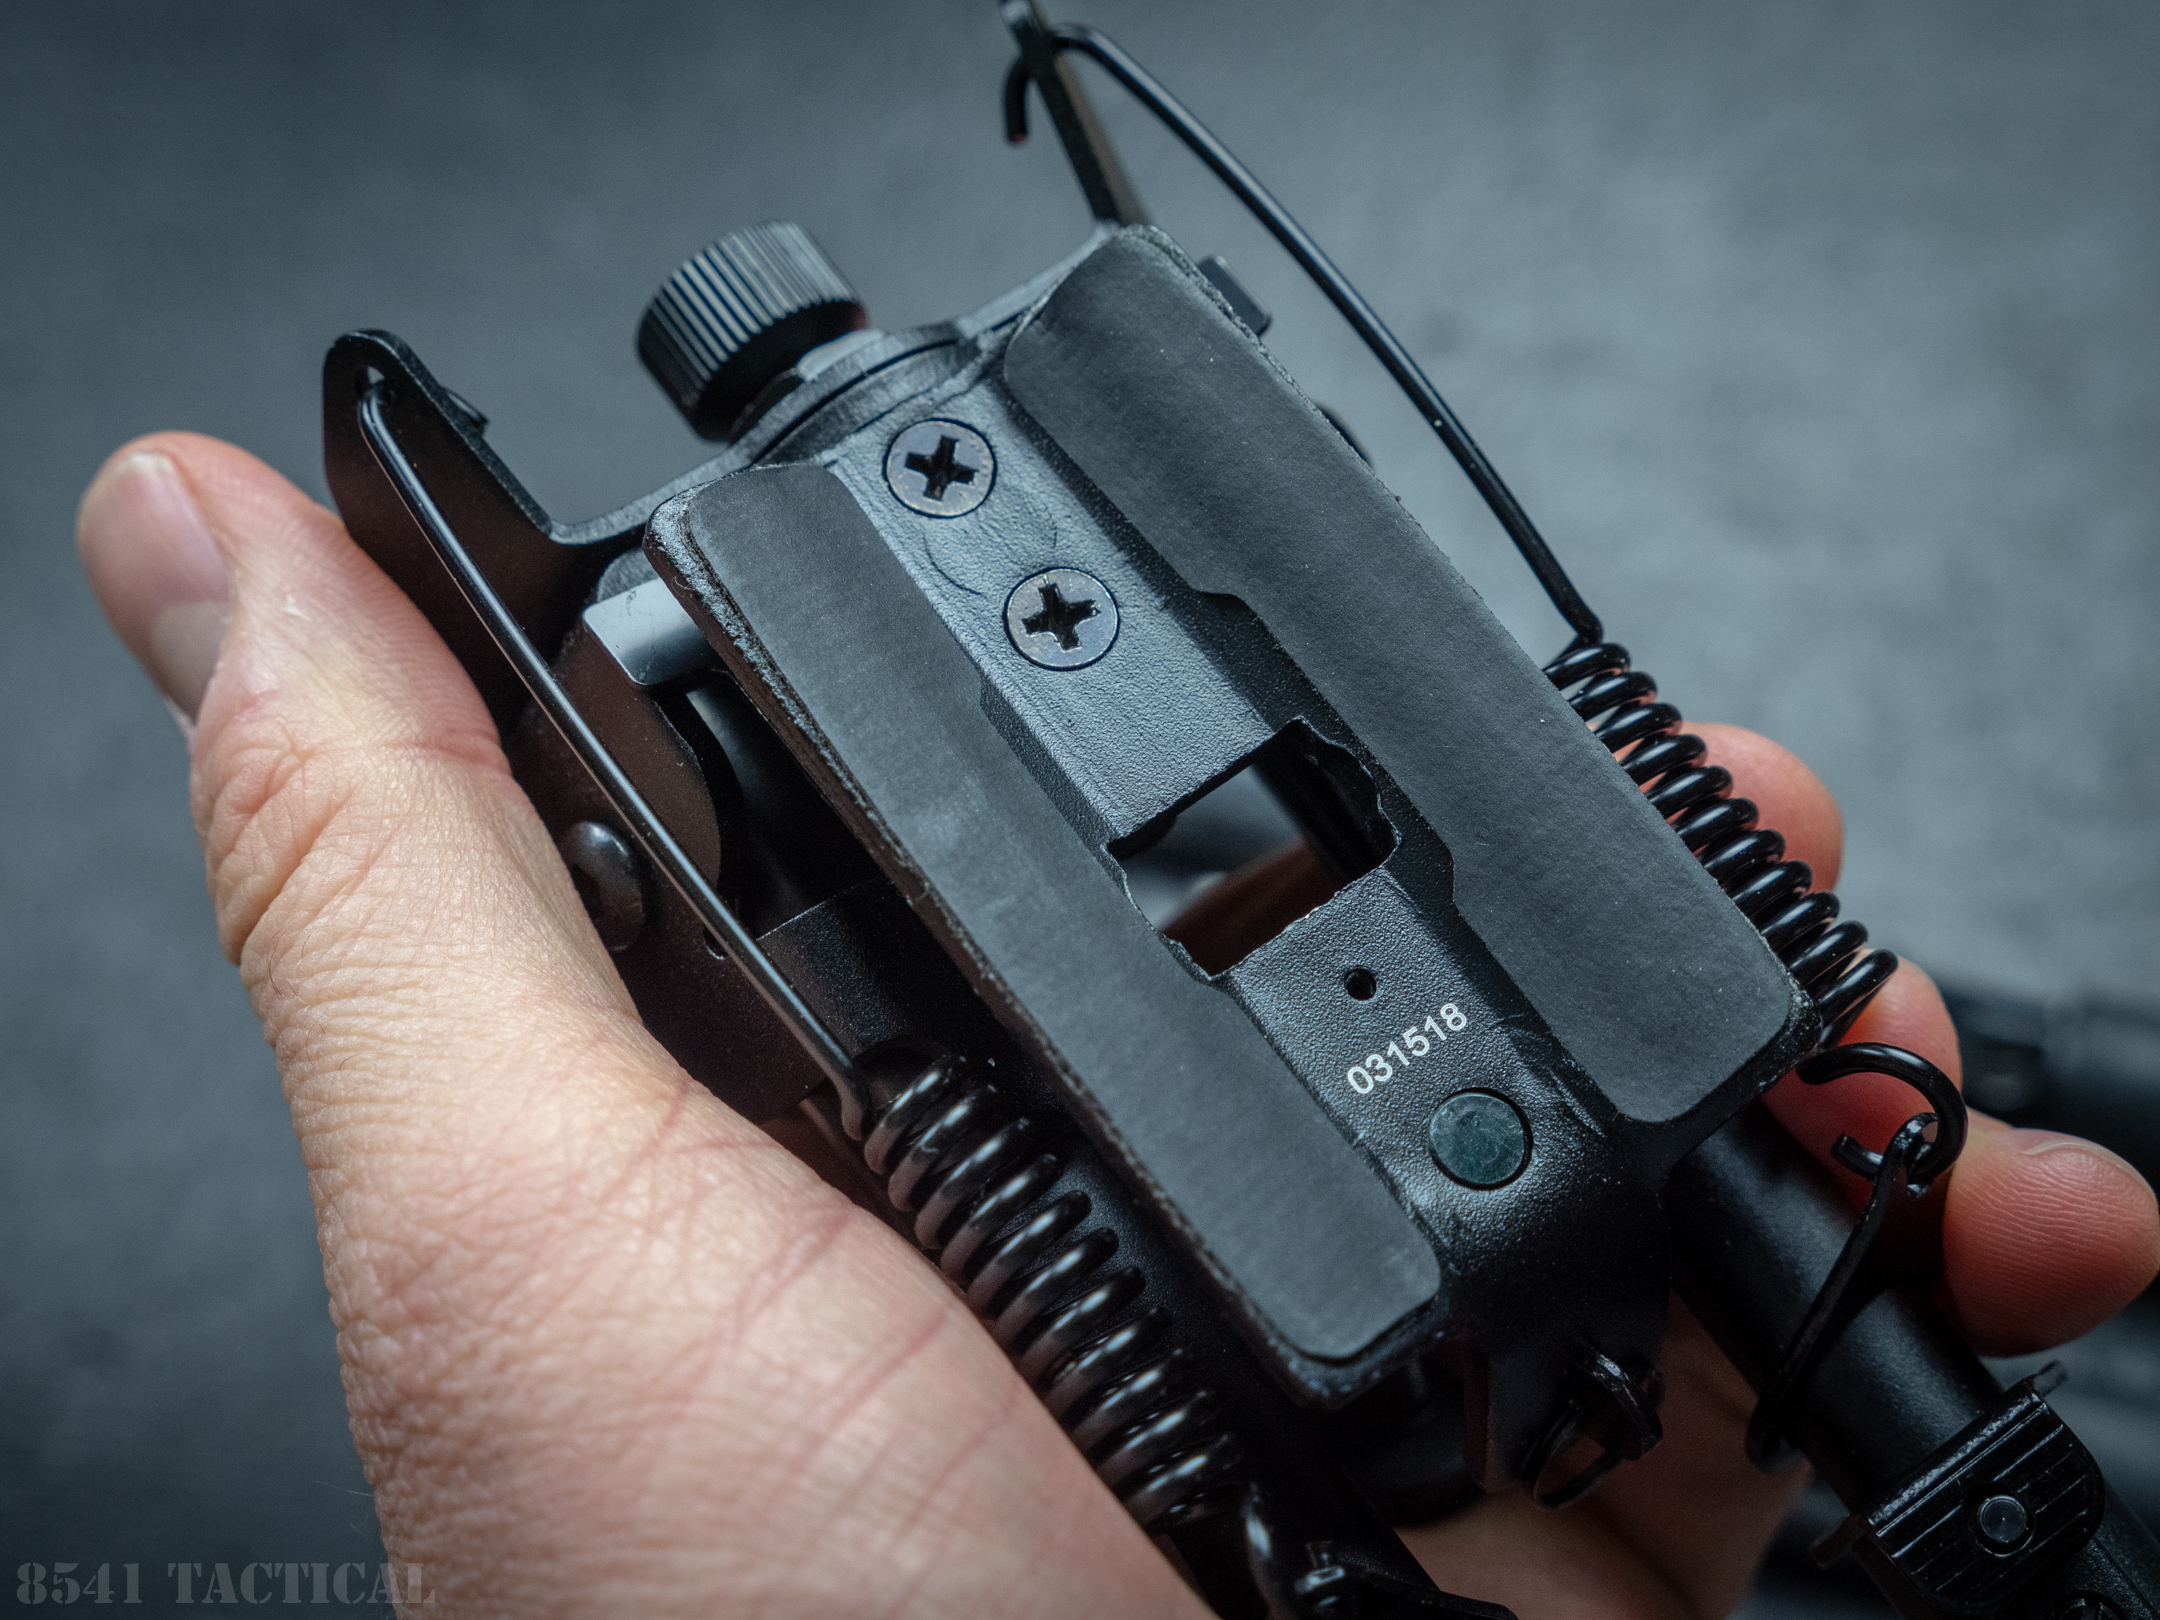 The second point that I immediately took note of when unboxing the bipod was the fact that one of the two screws in the bracket was almost falling out. Upon closer inspection, the screw doesn’t actually appear to do anything. It is holding a plate in place that is also welded to another fitting.
Due to the price difference, I expected the fit and finish to be inferior to the Harris BRM-S. I was curious to see if the function was on-par. I had just finished assembling our U300 “Project Stumpy” rifle and decided to use the Caldwell XLA during the scope zeroing process. The Modular Driven Technologies ESS Carbon Fiber Forend comes from the factory with a single sling stud. I usually remove these and affix a rail, but “Stumpy” still had one.
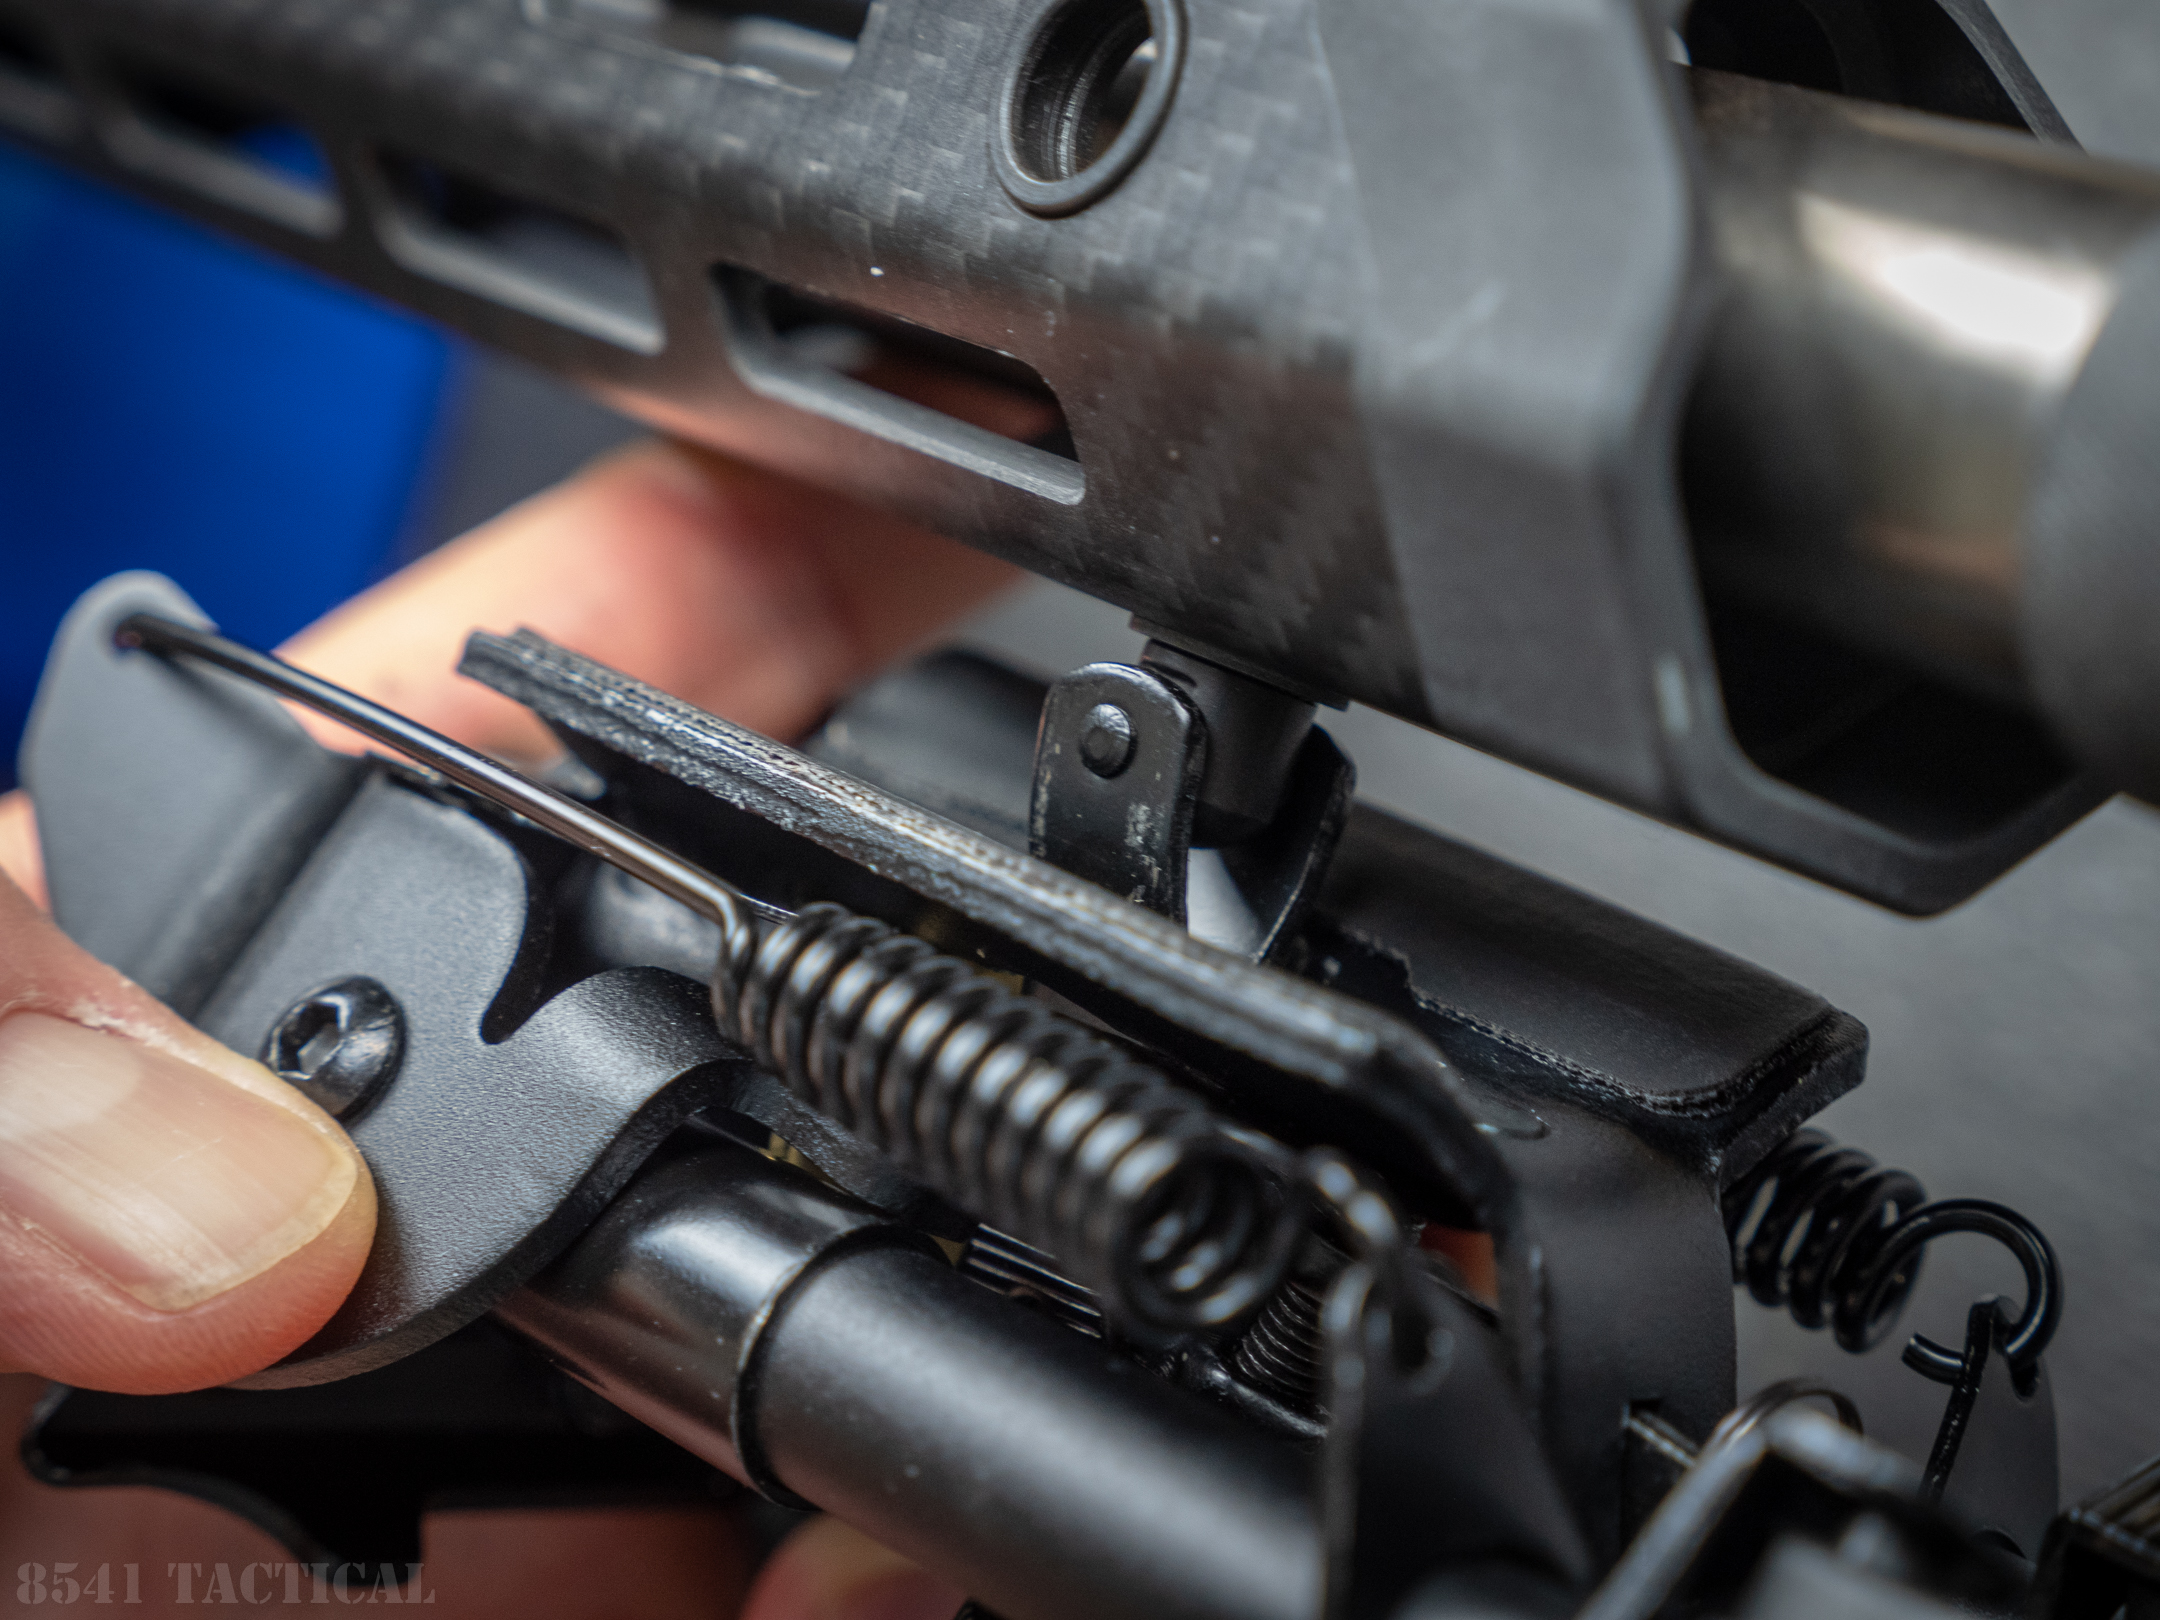 Attaching the Caldwell XLA to the sling stud is accomplished in exactly the same manner as with the Harris BRM-S. The trick has always been to back out the thumbscrew until the claw for the stud extends as far as possible. This gives you the widest separation of the two pins to clear the larger studs you generally find on tactical rifles. The Caldwell XLA did not have any problems in this regard.
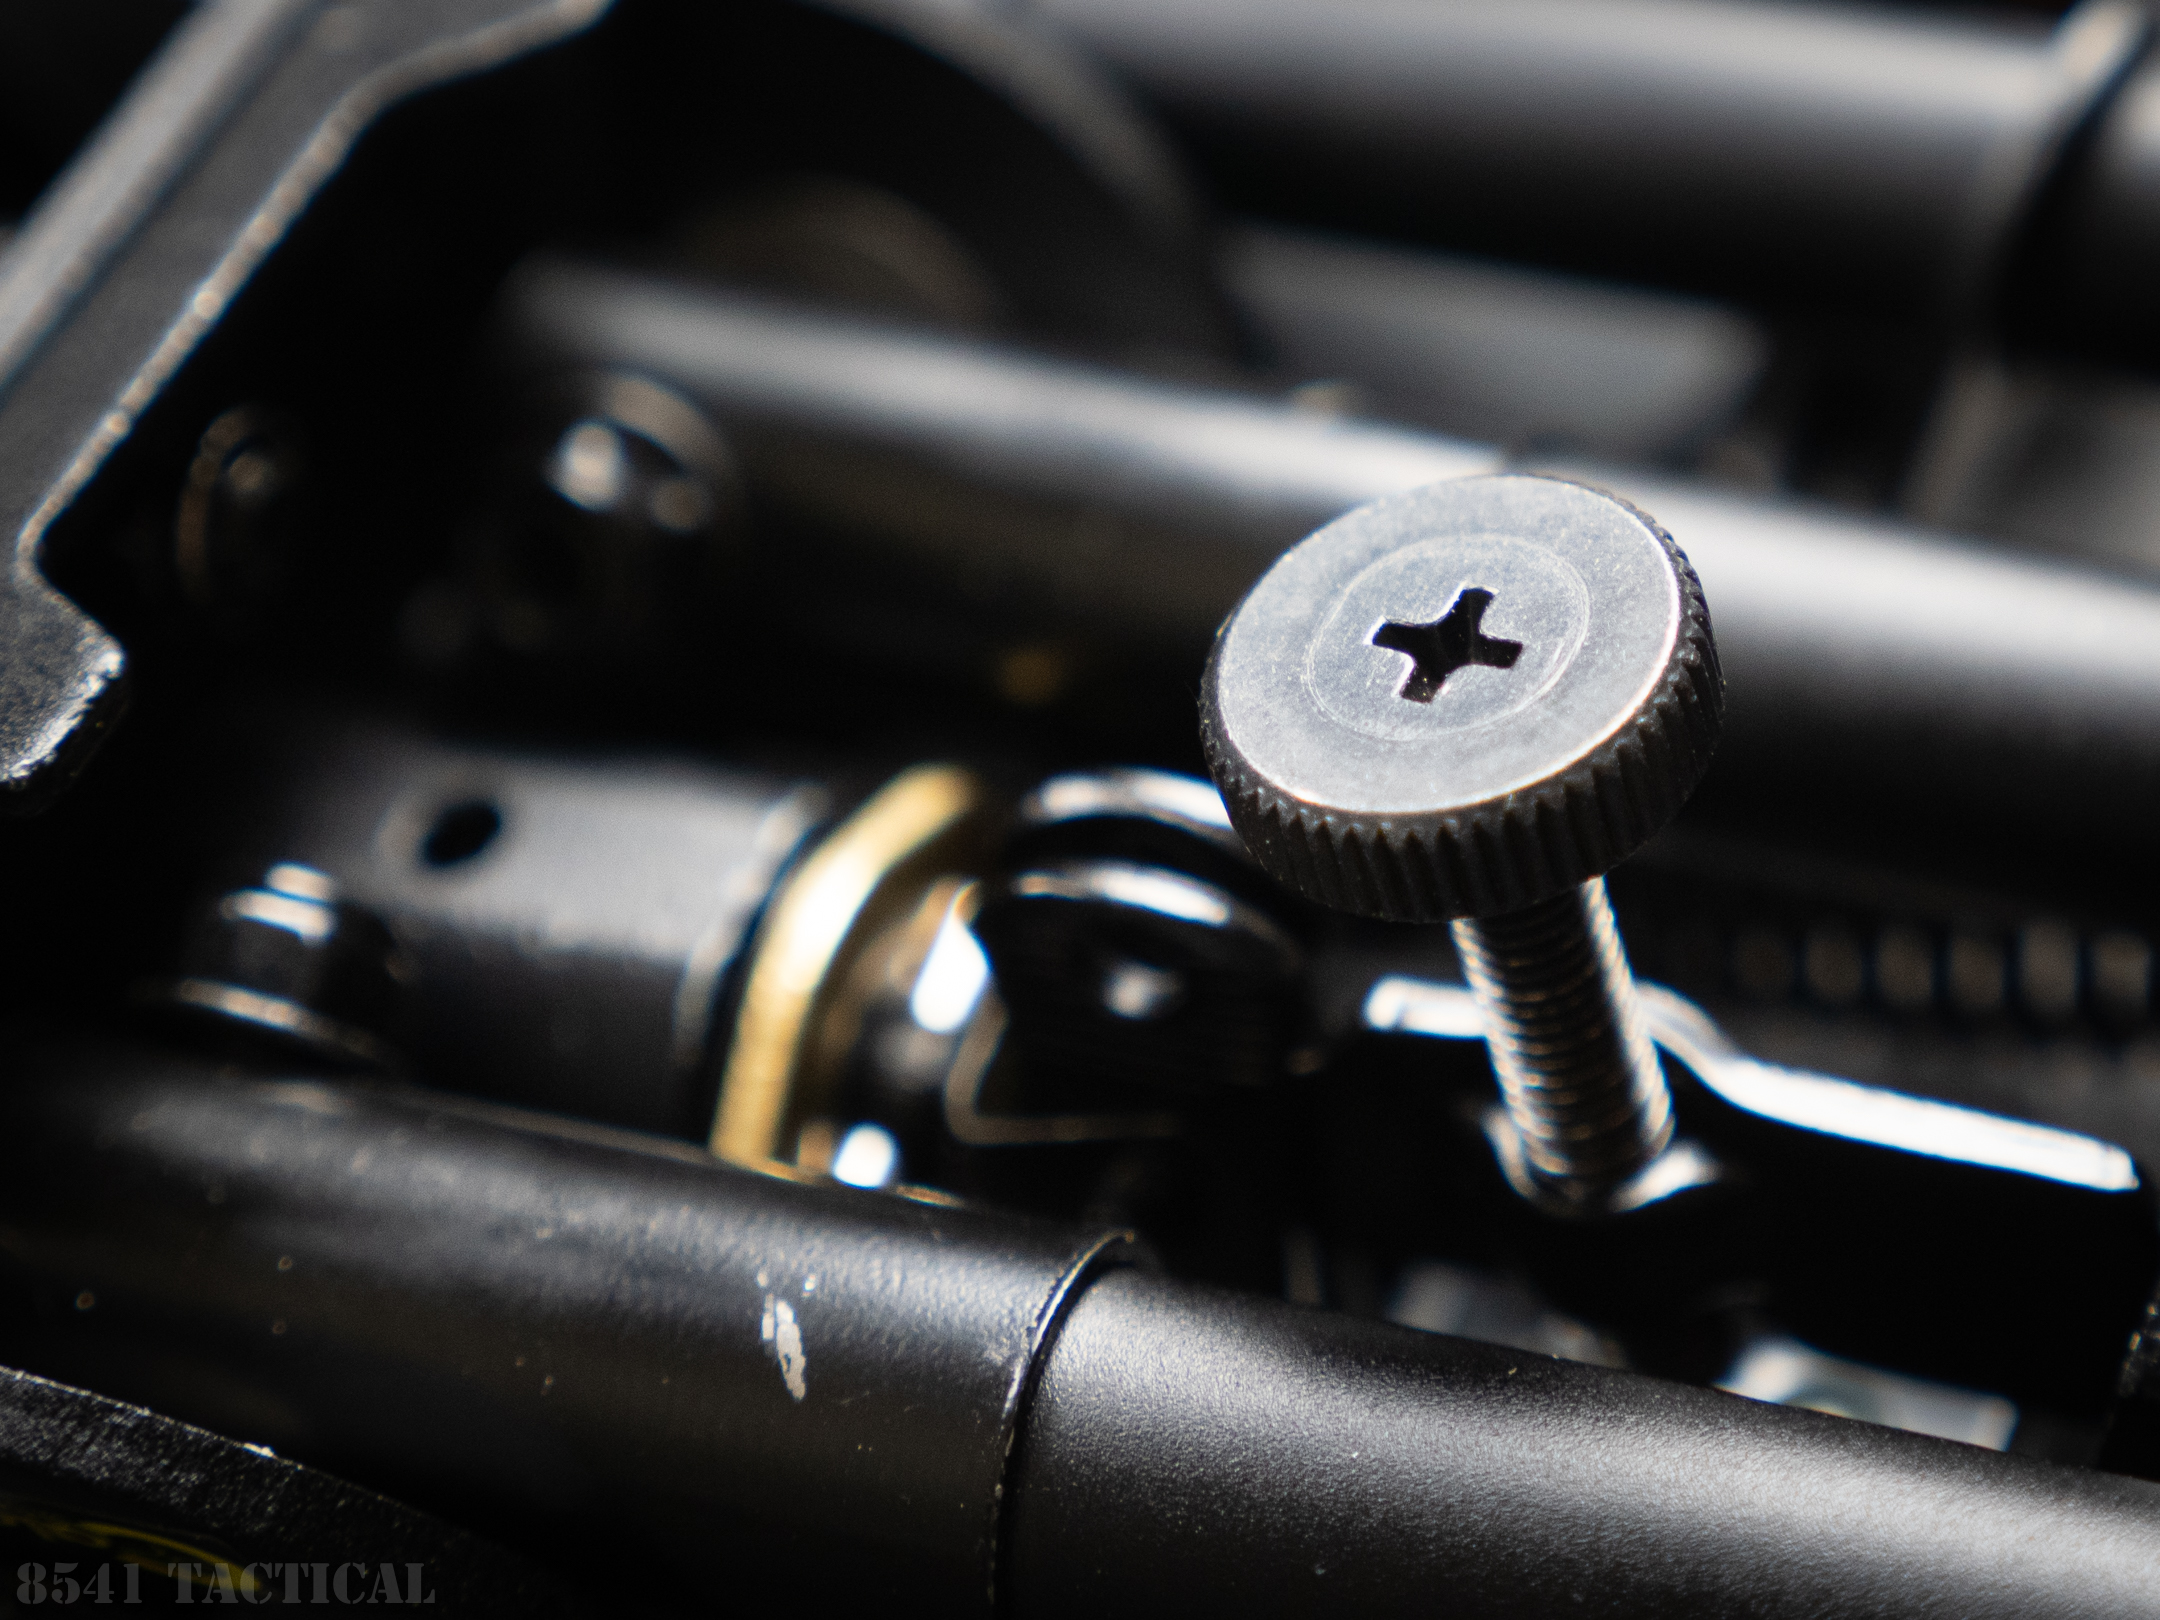 One major difference between the two thumbscrews is that Caldwell went with a Phillips head interface on the XLA as opposed to the Hex head on the BRM-S. Neither makes much of a difference to me. I have always just secured them to hand tight. However, it baffles me as to why Caldwell would go with a Phillips head. If they were going to depart from the Harris spec, a coin slot would have been a better choice. Not many of us walk around with a Phillips head screwdriver in our pockets (except for my Gerber SHARD). Most of us have car keys, coins or even a cartridge case available.
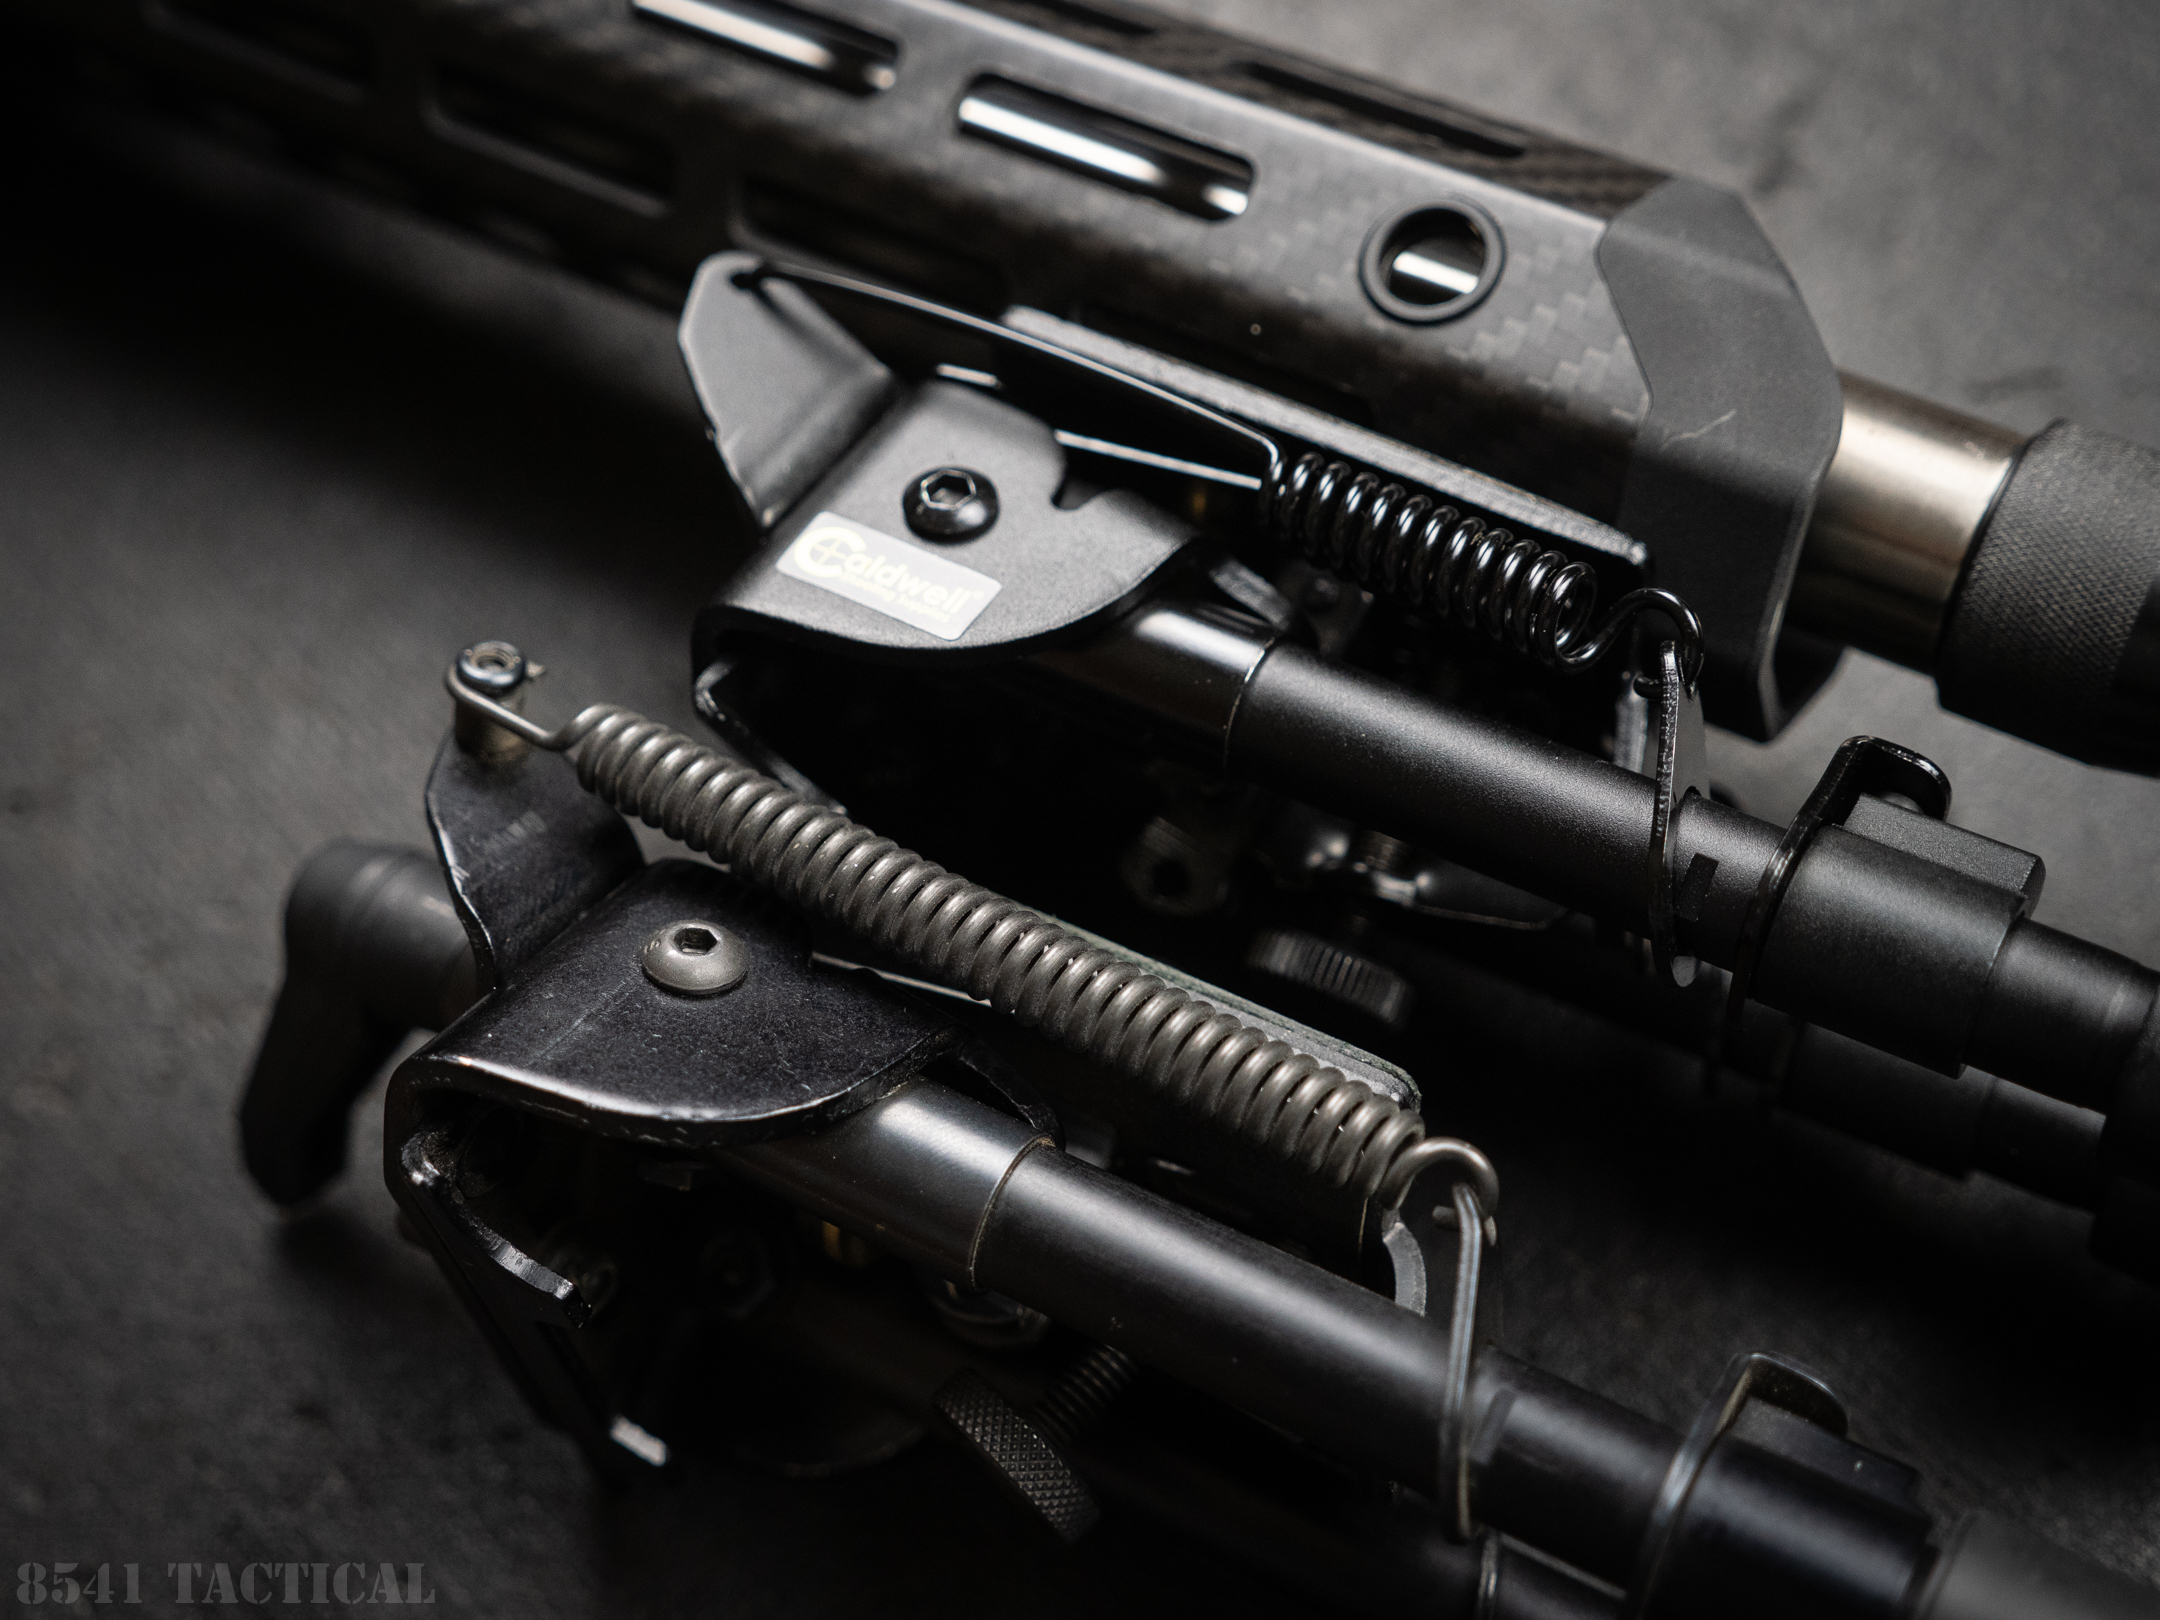 Once I had the Caldwell XLA mounted (legs pointing forward), I deployed the legs. This revealed another large difference between the Caldwell and Harris. The Caldwell took very little effort to deploy to their down position. When nearing the end of their travel, the spring had little tension left in it. This is in stark contrast to the BRM-S that will snap out with enough energy to cause injury to any appendages in the way.
This should not be surprising when comparing the XLA and BRM-S side-by-side. The springs on the Harris BRM-S use a similar diameter wire, but the BRM-S has 34 coils compared to the XLA’s eleven. When placed in their deployed position, the XLA legs are under very little spring tension it doesn’t take much effort to push them off of the bracket. The Harris BRM-S legs are held strongly against the bracket with plenty of extra spring tension.
At first, the difference in tension may not seem like a significant feature. However, when positioning the rifle, it is much easier to pull back and cause the legs on the Caldwell to collapse into their stowed position. The spring tension also affects how the bipods feel when panning. Neither of these two bipods have a pan joint. The panning movement is accomplished by allowing one leg to stay hard against the body bracket and allowing the other to move under spring tension. Too quick of a pan with a heavy rifle could allow the XLA to collapse a leg.
The Caldwell XLA uses the same method as the Harris BRM-S to allow the legs to telescope to various positions. Pushing the release and holding it will allow a short spring to shoot the leg out in a ballistic manner. It helps to have the leg pointing down. If you have the leg oriented in a different direction, it may not fully deploy. The easiest method for leg length adjustment is to lift the rifle up and allow the leg to shoot all the way out. Then set the rifle down on the bipod and push the leg release and allow the leg to collapse to the intended height. Repeat with the opposite side. This makes it easy to account for inconsistencies in the ground. Trying to push the button with one hand and adjust leg length with the other is cumbersome.
 Although the leg mechanism is similar, the distance between each notch on the XLA is greater. This gives you five leg positions compared to the six on the Harris. The inner shaft of the leg is not as smooth or as well machined on the XLA. This causes the adjustments to be a little rougher. This is just another example of quality versus price.
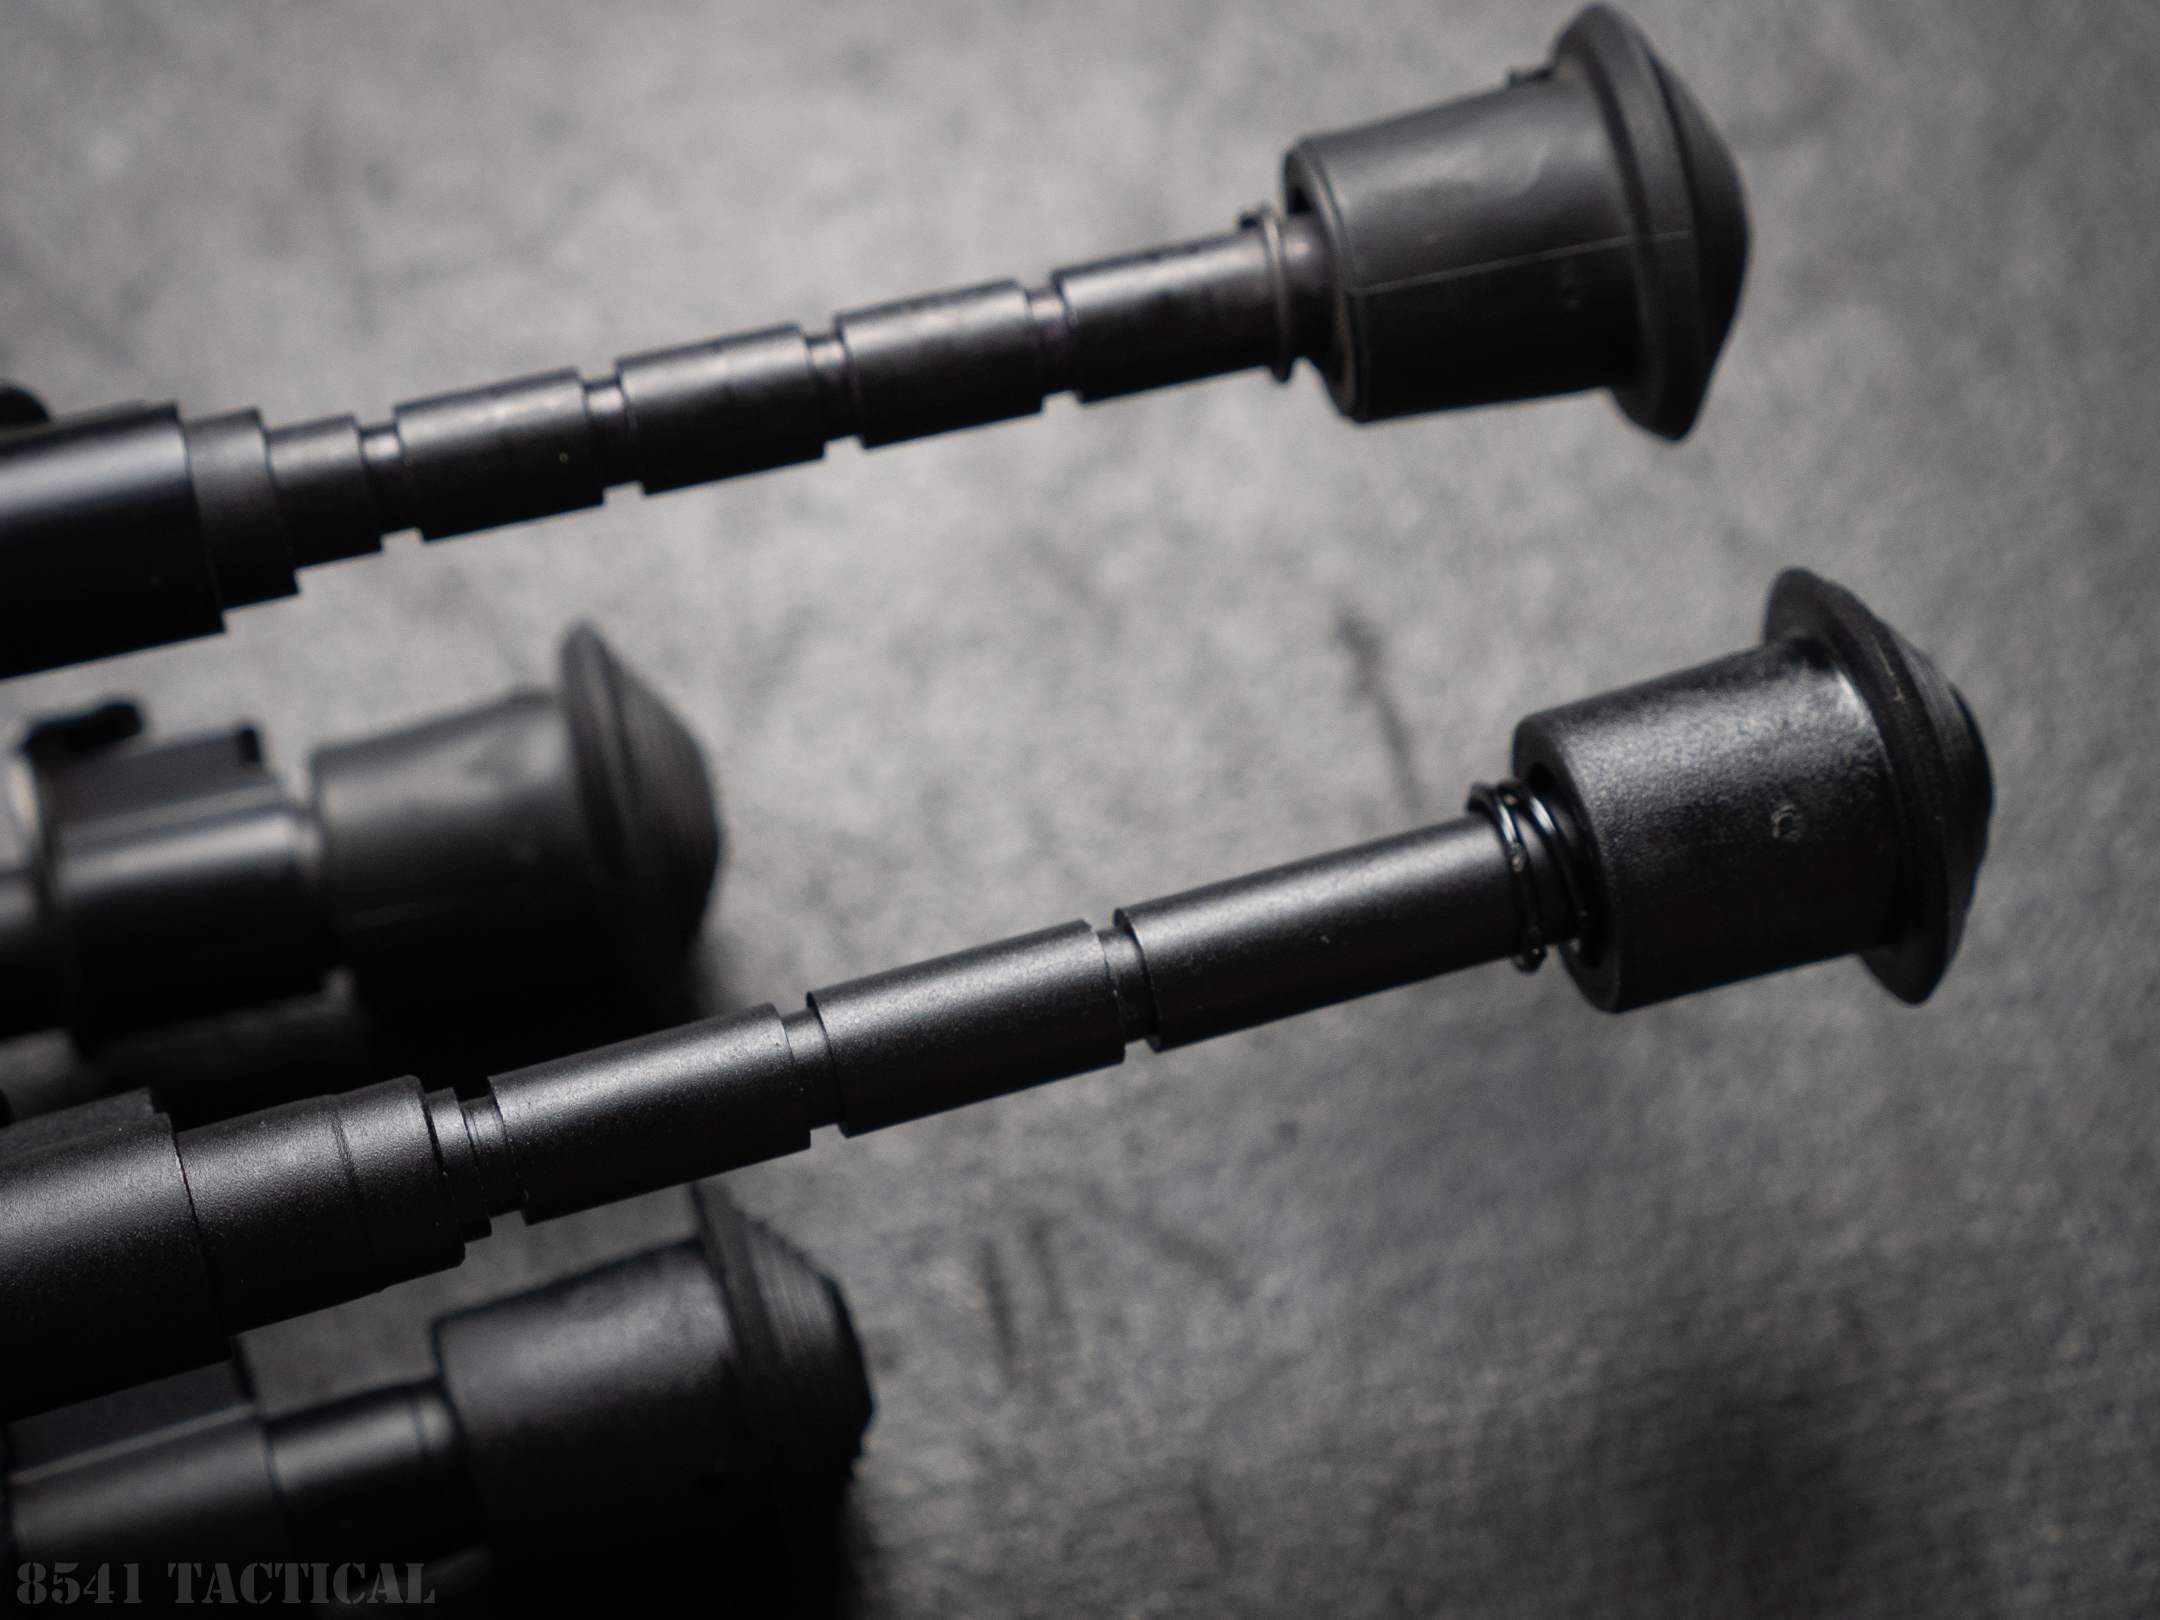
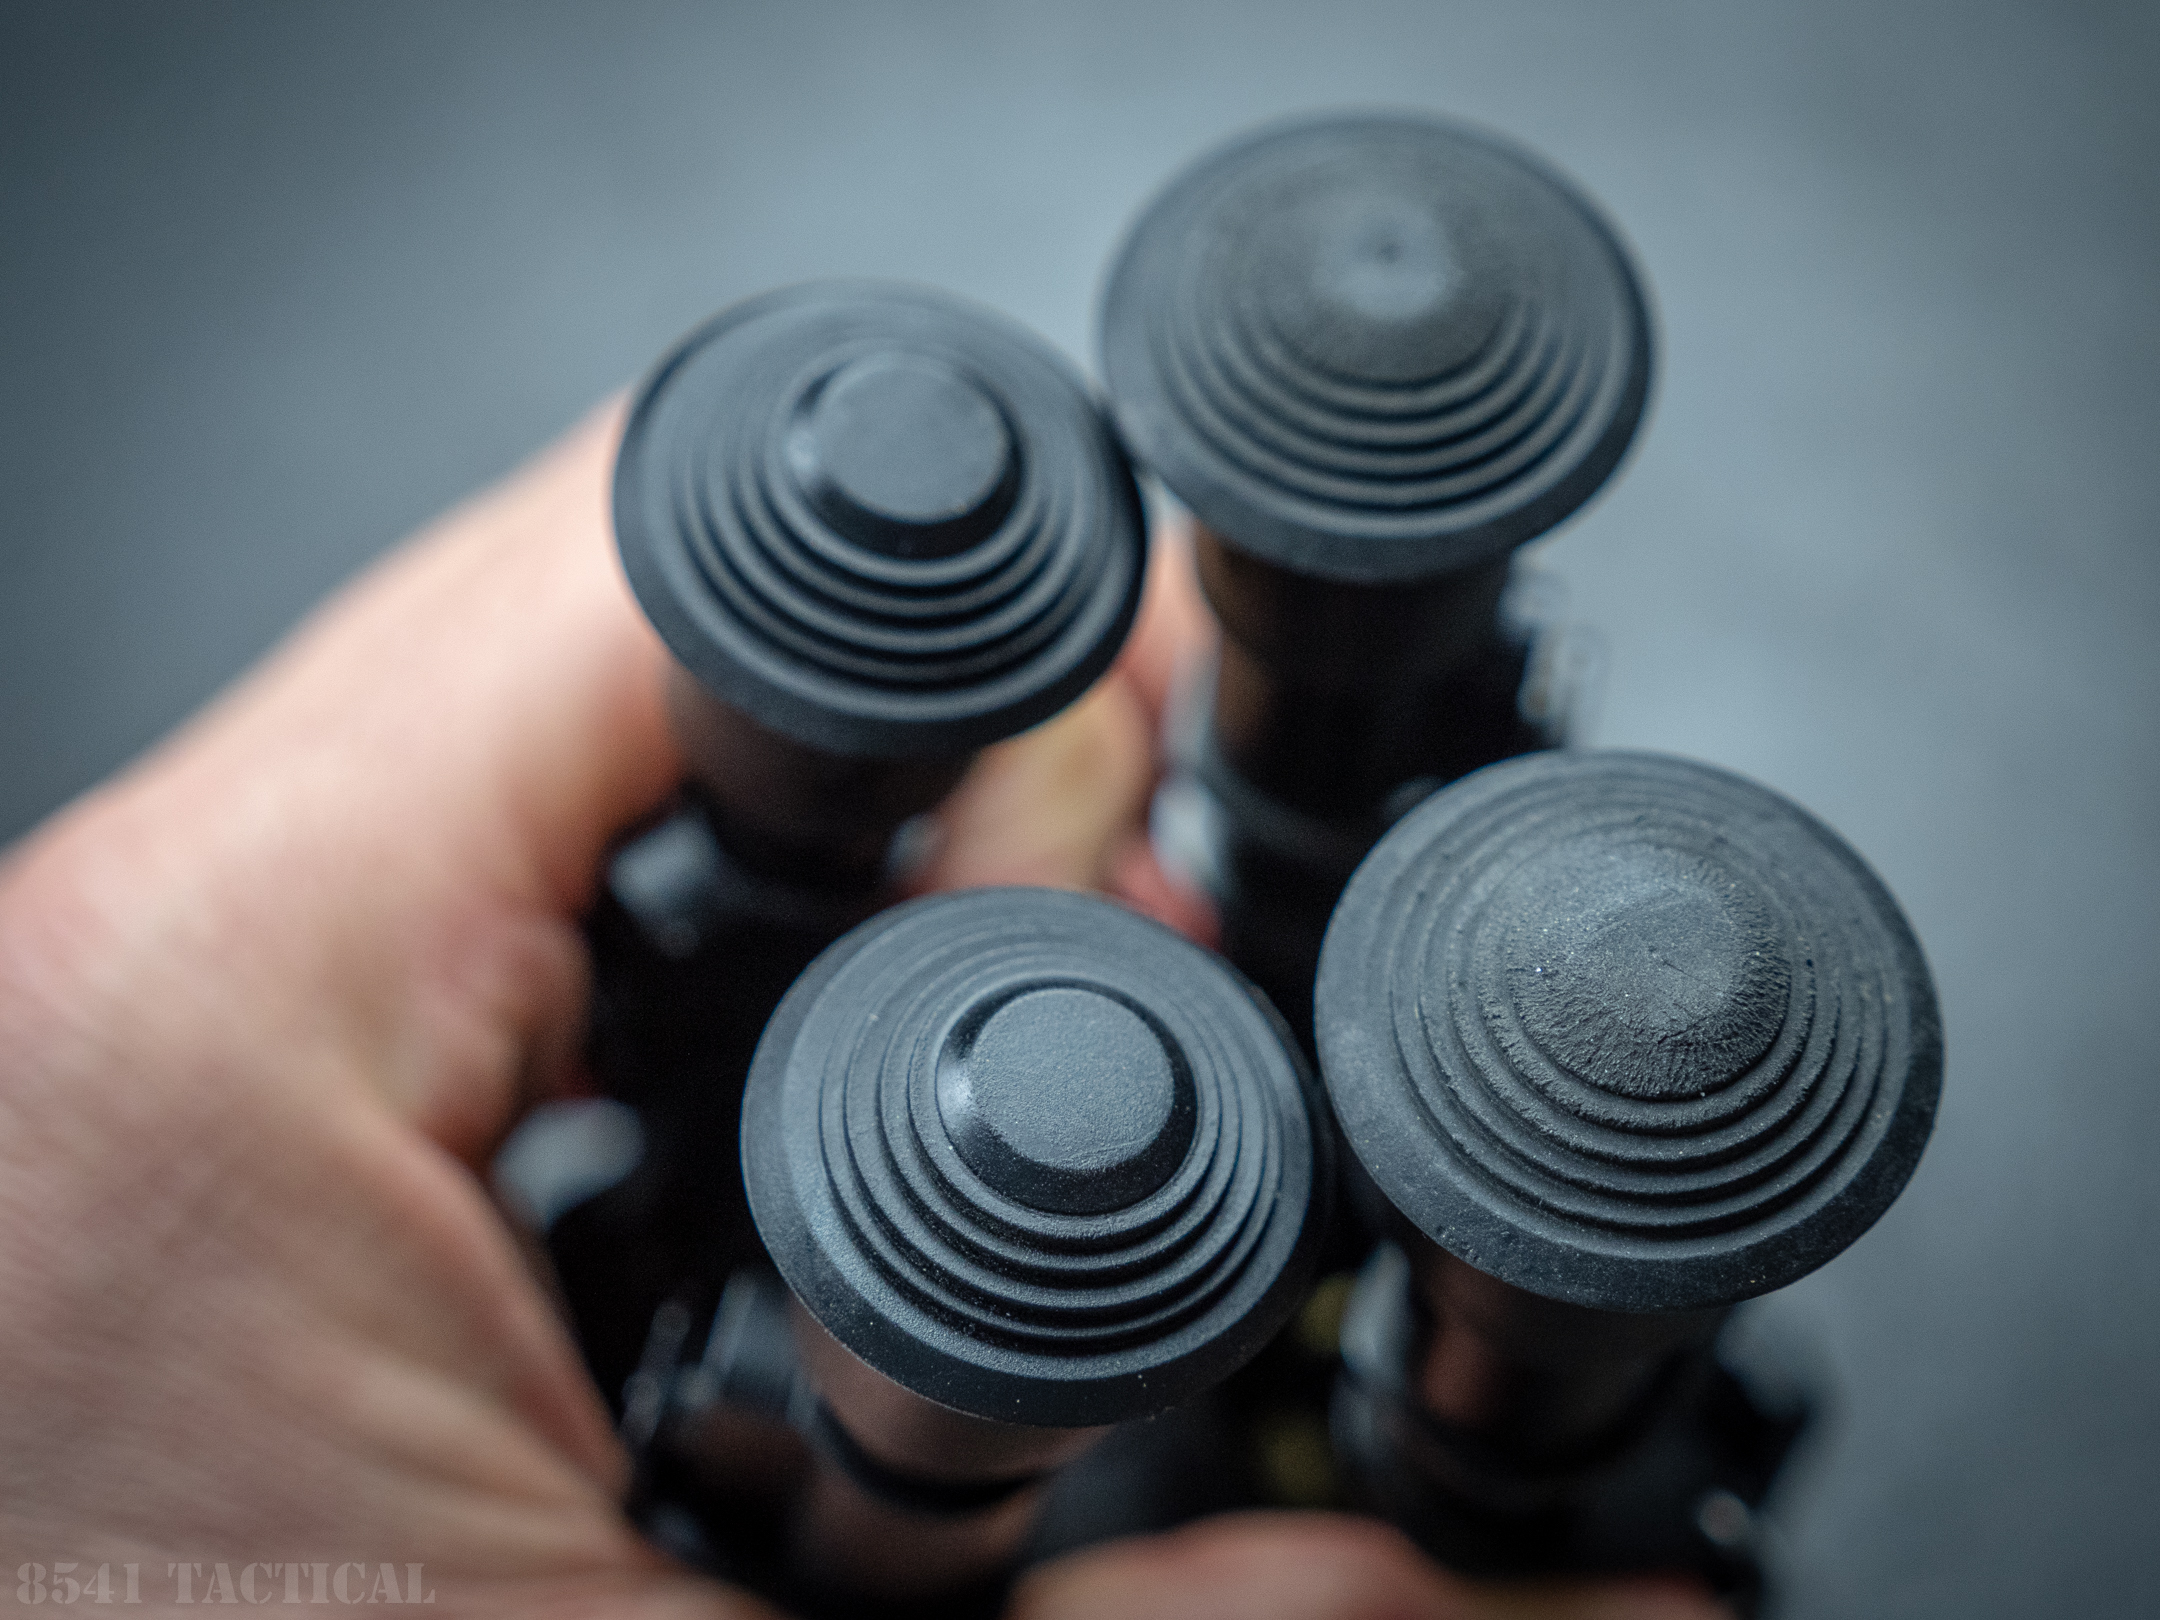 The feet on the two bipods have a very similar shape, but the rubber on the XLA is harder and not as “grippy” on many surfaces. They both use the same roll-pin mounting method. The shaft is only slightly smaller on the XLA (0.374″ vs. 0.377″). This means that many claws, spikes or other feet options for the Harris may fit the XLA.
The final, major feature on the Caldwell XLA Pivot is the pivot. The XLA uses an almost exact duplicate of the swivel feature on the Harris BRM-S. The threaded shaft and retaining feature are so similar that the KMW Pod-loc will also fit the XLA Pivot.
The pivot on the Caldwell XLA is not as smooth as the movement on the Harris BRM-S. The XLA seems to have left out some of the bushings that are used in the BRM-S. This appears to be another cost-savings measure. However, it is also an easy fix for the DIY shooter.
 Shooting Impressions

Shooting “Project Stumpy” with the Caldwell XLA attached was a non-event. The bipod allowed me the stability needed to obtain a solid zero with the Sig Optics Sierra 3 BDX rifle scope that we are testing. While getting into position behind the rifle, I was aware of the reduced spring tension any time I pulled the rifle back towards me. The gritty swivel mechanism was apparent while fine-tuning the cant of the rifle. The small knob on the rear of the mechanism makes it difficult to lock out the swivel, but this is an issue with the Harris BRM-S as well and why all of mine have Pod-Loc levers or some other type of oversized knob.
The Caldwell XLA Pivot is made in China and the quality control is not the best. This one works fine, but the next one may not. We have not had to use the Customer Service at Caldwell, so I cannot comment on how fast the turnaround would be for repair or replacement. The Harris BRM-S is made in the USA and the quality between the samples that I have purchased have all been consistent.
There is a very large aftermarket to support the Harris BRM-S. You can replace the feet, knobs, and mounts with just about any style you like. I recently replaced the mount on one of our Harris bipods with a Really Right Stuff Dovetail adapter to make it compatible with ARCA-SWISS spec rail systems. Many Harris accessories will fit the Caldwell XLA, but you cannot be sure that the spec will remain the same from unit to unit if there is a cost saving to be had in a design change.
At the end of the day, the bipod did its job and at less than 50% of the cost of the Harris. It doesn’t feel as durable, but it doesn’t feel so fragile that I would be afraid to put some weight on it. This is an excellent option for entry-level sports like the NRL 22 matches where a bipod is needed, but the cost is still a significant consideration.
Where to buy:
Harris BRM-S 6-9″ – http://bit.ly/2J0rYb3
Caldwell XLA Pivot Model – http://bit.ly/2OtcDFL