

Arguably the most stable and accurate rifle position is the supported prone position. Most of us began our rifle training with this position. It is one of the easier positions to master and is the primary position used in most “tactical” precision rifle matches. What better reason to start our Precision Rifle Skills Series with the Supported Prone position.
To begin, we need a rifle equipped with a bipod and a rear beanbag or sand bag. A sock full of rice, beans, sand, etc. can work if you don’t have a dedicated rear bag. Some type of shooting mat or ground cover is also recommended.
If you do not have a bipod on your rifle, you can still follow along using sandbags or a ruck. However you will not be able to “load” the rifle as you would with a bipod.
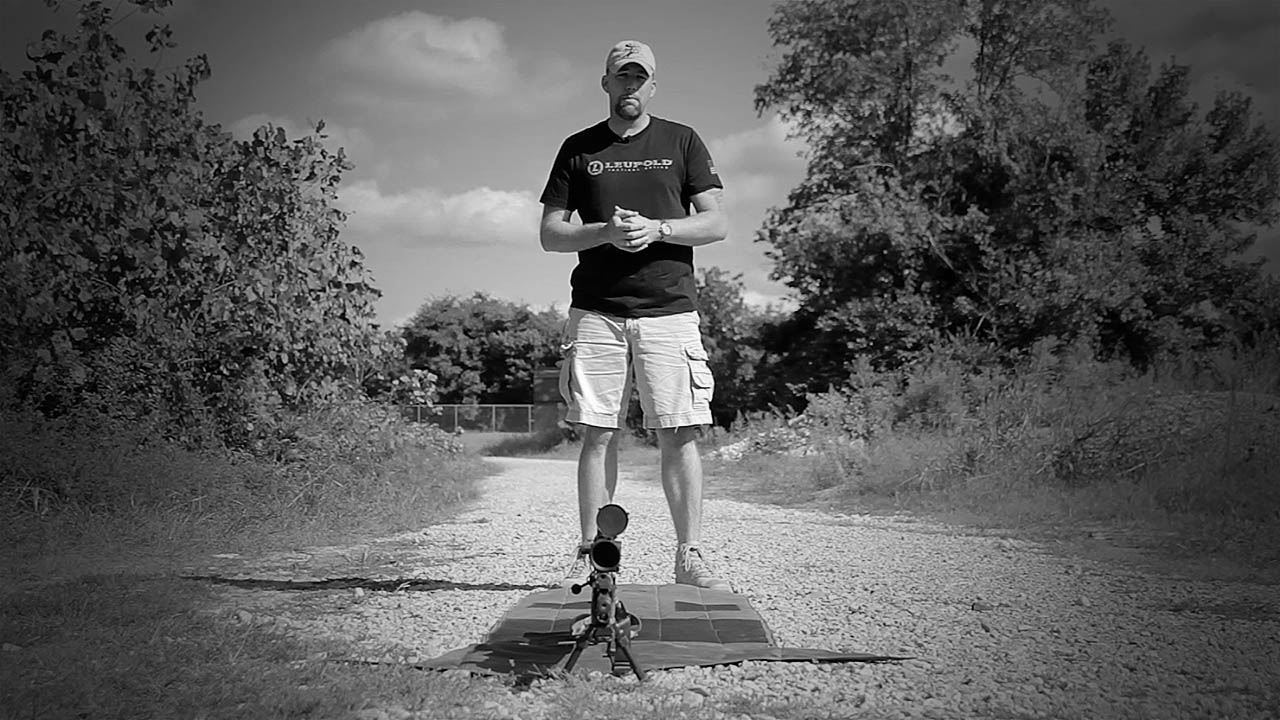 Place your rifle on the ground with the bipod deployed. If you are a right handed shooter, the rifle should be offset to the right side of the shooting mat. If you are a left handed shooter, it should be offset to the left. Lay down behind the rifle and make whatever adjustments are needed to the bipod and rear bag in order to get the reticle on target. Once you are satisfied, stand up.
Now that your rifle is lined up with the target, we need to line your body up with the rifle. Stand one body length behind the rifle. If you are right handed, your right foot should be in line with the rifle. If you are left handed, the reverse is true.
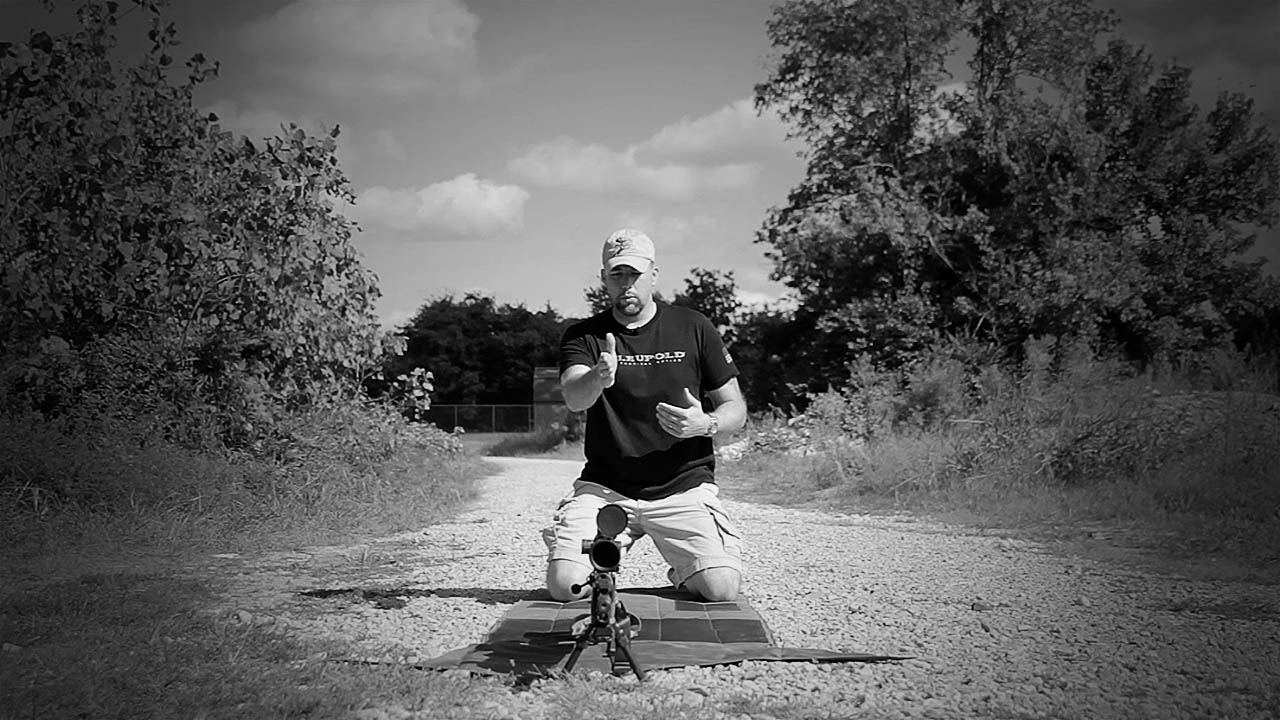 Without moving your feet, drop to a kneeling position. If you have physical problems that prevent this, do the best you can to keep your feet where they are. Your knee should be close to in line with the butt of your rifle (or just slightly outboard of it).
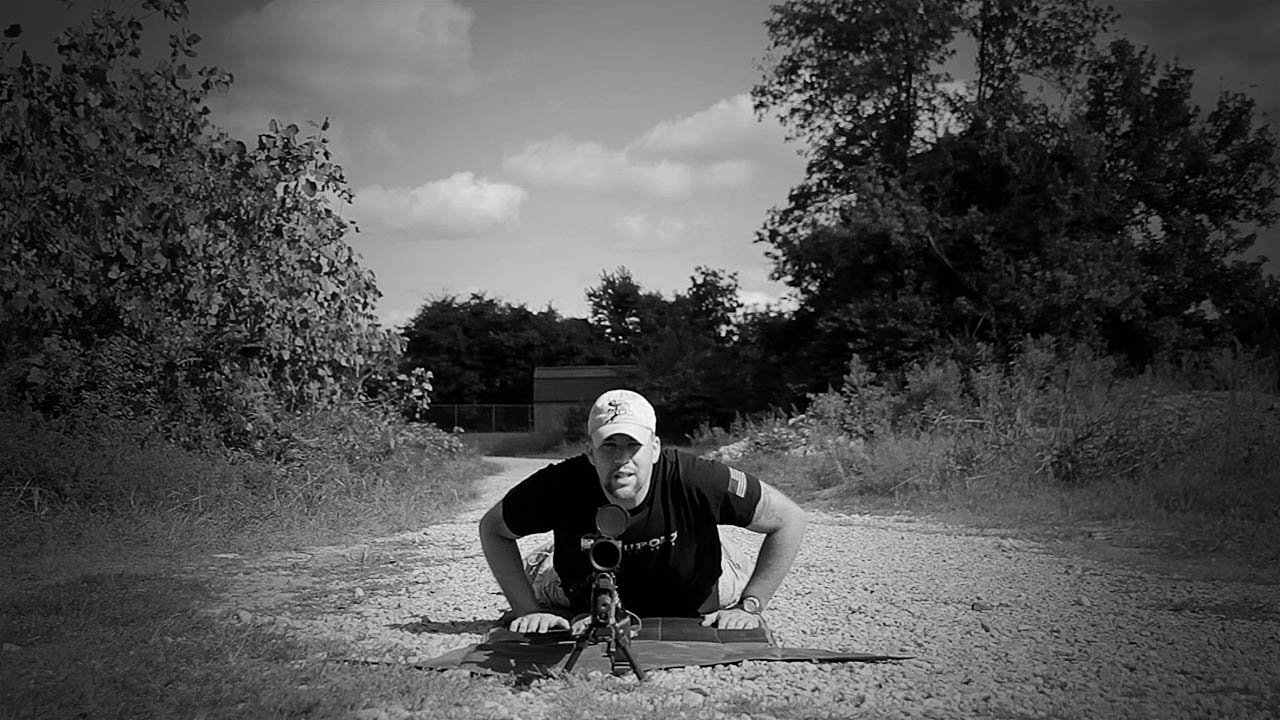
Without moving your knees, drop to a push-up position and lower yourself to the ground behind your rifle. Your shoulder pocket should be in line with the buttstock of the rifle.
DO NOT pull the rifle to you.
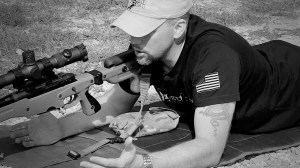
This is where many shooters botch the whole position. If your shoulder is not touching the stock, then slide your body forward until it does. Without pulling the rifle back, take hold of it and lift the stock directly upward for 6-8 inches. Now slide your body forward and lift your chest off of the ground, bringing your shoulder pocket into contact with the stock.
At this point the rifle should be propping your body up. Now relax back down to the ground and you will see that without any help from your arms, the rifle is pushing back into your shoulder. This is what is commonly referred to as “loading the bipod”. If you are working on a smooth slick surface you may find this a little difficult. Keeping the bipod feet on the shooting mat, using a bit of carpet or other material may help. While learning the position, it is better to work on gravel, dirt or grass surfaces.
Once you have relaxed back to the ground, use your support (non shooting) hand to adjust your rear bag and get back on target. If you didn’t disturb the rifle it should take a minimum of adjustment to get sighted in. If a lot of lateral adjustment is required, then you should stand up, and begin again. Do this until you are comfortable with getting into position and not disturbing the rifle. Later if you have to shift right or left enough that you have to slide your chest, slide your hips and feet the same amount. This will maintain your body alignment. Your feet and ankles should be flat to the ground, not on your toes.
Once you have successfully assumed the prone position and loaded your bipod, resist the urge to pull the rifle in with your support side. Many shooters will “sneak” their support elbow forward to gain more leverage. This will angle your shoulders and allow the rifle to slip when it recoils. This escape route will let the rifle “hop” to one side on its bipod. The goal is to keep your elbows close to even, forcing your shoulders to remain perpendicular to the axis of the rifle’s bore.
The prone position is not difficult, but it does take some time to master. “Snapping In” or going through the motions of building a position, time and time again will program your body with the routine. Eventually you will be able to drop into the position on the clock and not even think about it. As you train, you may notice some soreness in your neck and back. This is normal as your muscles stretch to accommodate a new body position. However, don’t overdo it. Once you get used to the position you should almost be able to go to sleep on the rifle.
Stay tuned for more of our Precision Rifle Skills Videos.
great tutorial john I take the info you share as Gospel starting the game with .243 so I will be following your range and home videos on that new rem. awi weapon
Well done, I’ll be looking forward to the remainder of the series.
I also am looking forward to more in this series! Just to be clear, this straight on technique is used for precision rifle using a bipod (or pack), not slung prone, correct? Some amount of offset is needed to bring your natural point of aim on target when using a sling as a shooting aid, or are there different schools of thought there?
What happened to the rest of the Precision Shooting skills series?
It’s coming.
What’s the next one going to be about?
Thanks for the tutorial. I’m just getting into precision shooting. I’ve always been naturally accurate but learning precision shooting is a different animal. I’m glad for tutorials like this to help me learn. Thanks for the simple but informative video! 🙂