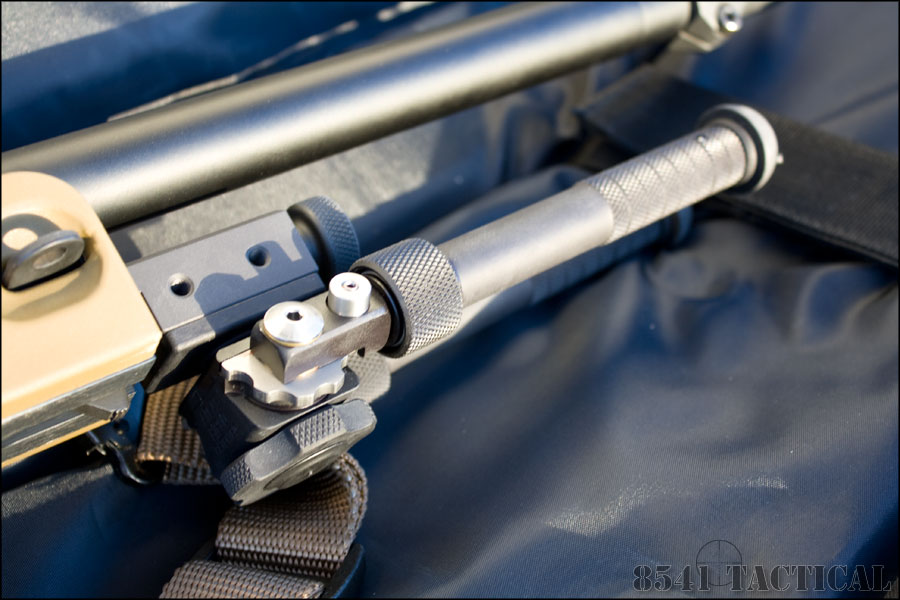
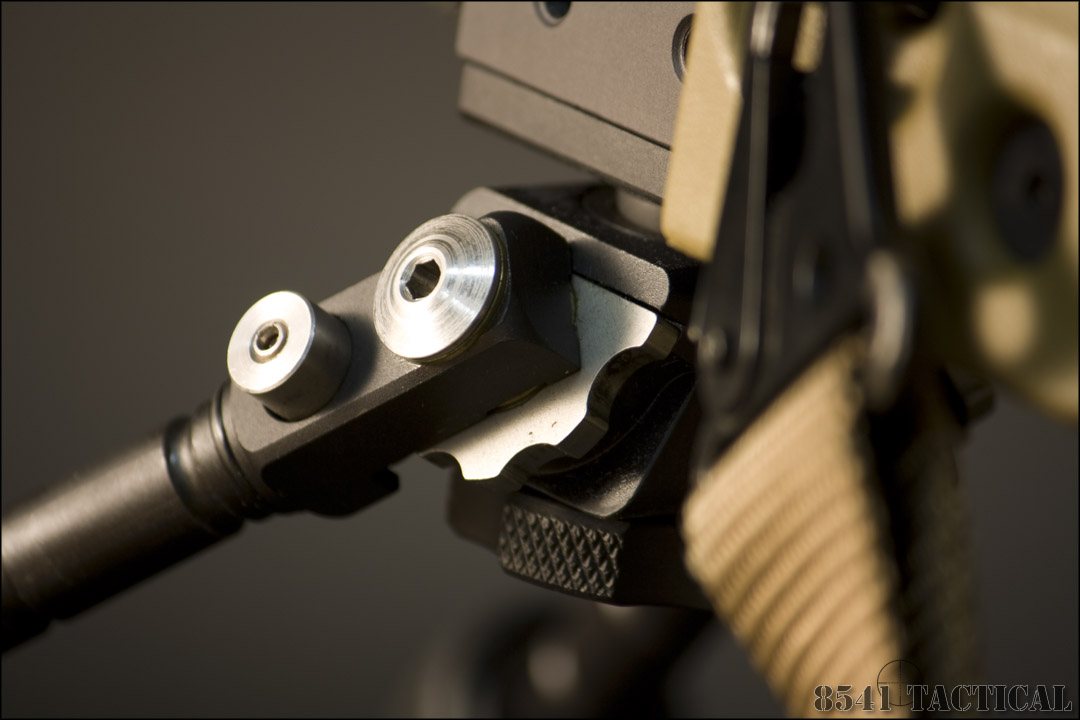
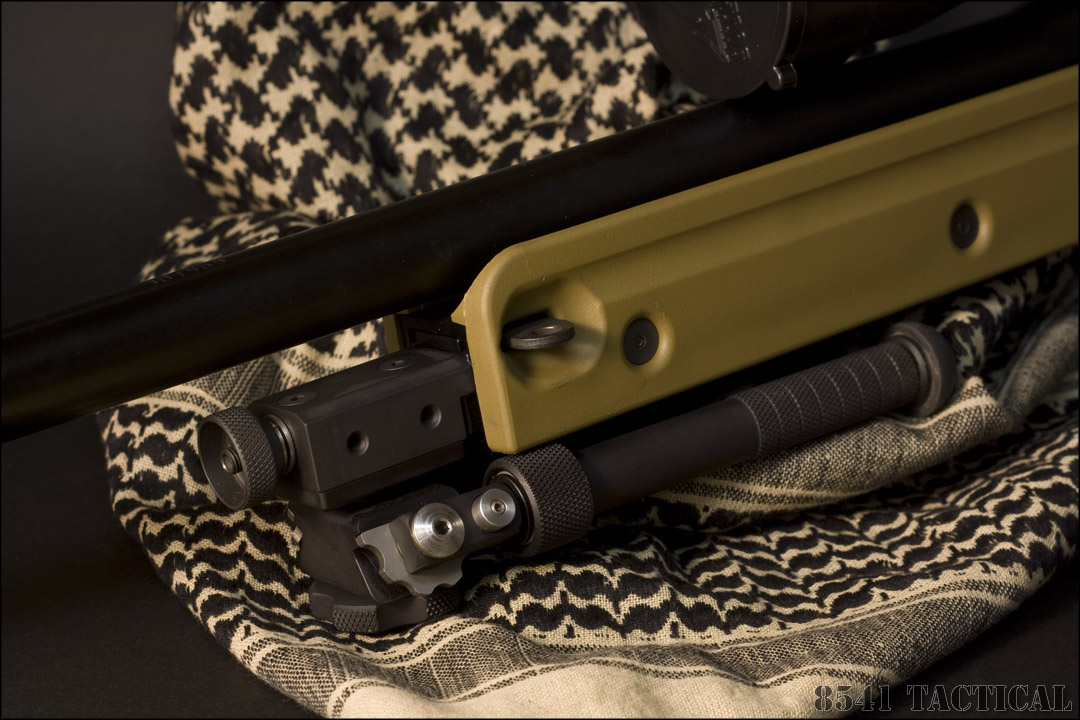
Our Atlas V8 came with the AI Spigot already installed. Installation is as simple as loosening the tensioning knob on the Spigot Adapter sliding it into the Spigot receiver in the AI until is clicks. Then tighten the tension knob back down. Once the tension knob is snugged down there is no play between the rifle and the adapter.
Prior to evaluating the Atlas V8 I had been using a Harris BRM-S on my Remington 700 and then on the AE MkII. The Atlas is without a doubt a more elegant solution.
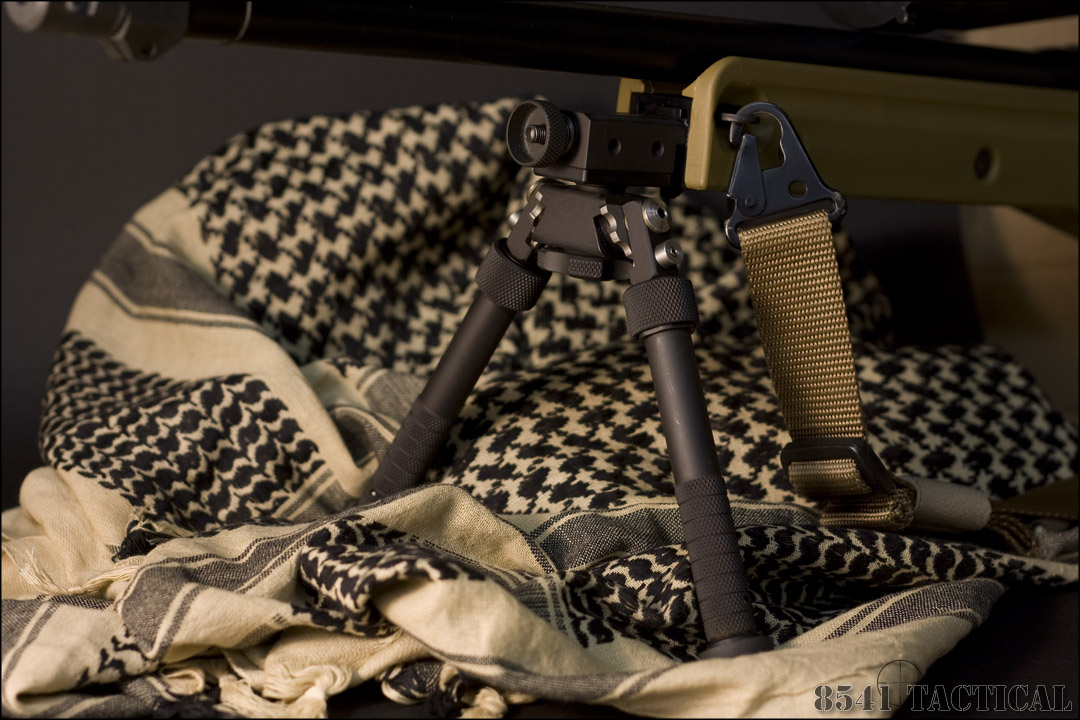
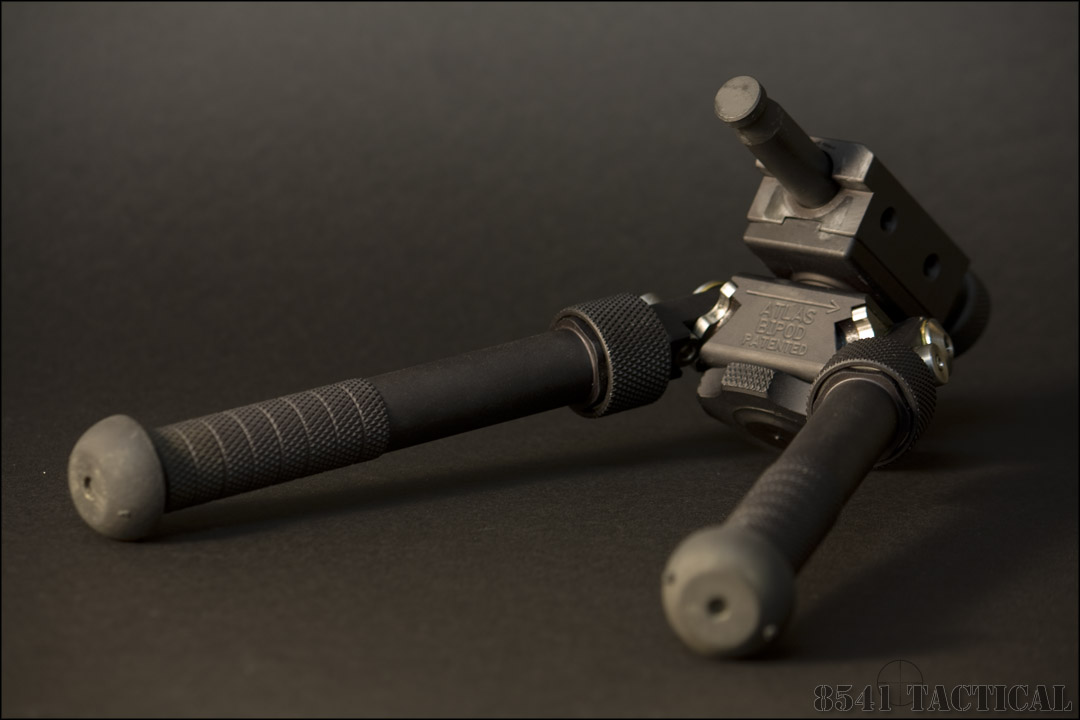
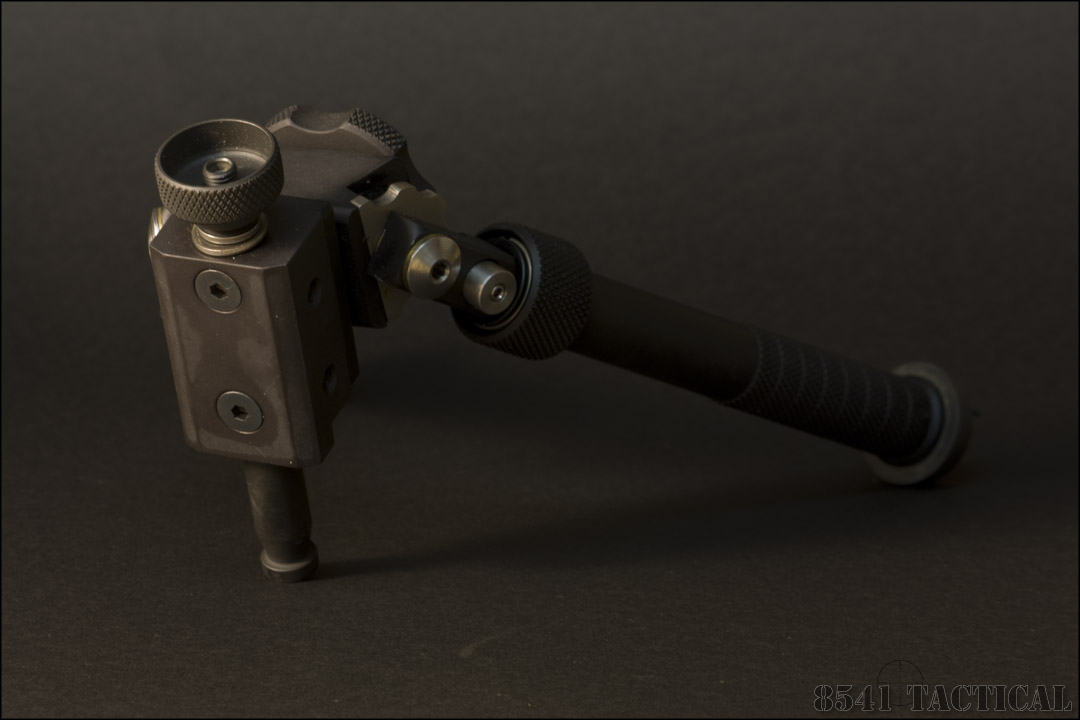
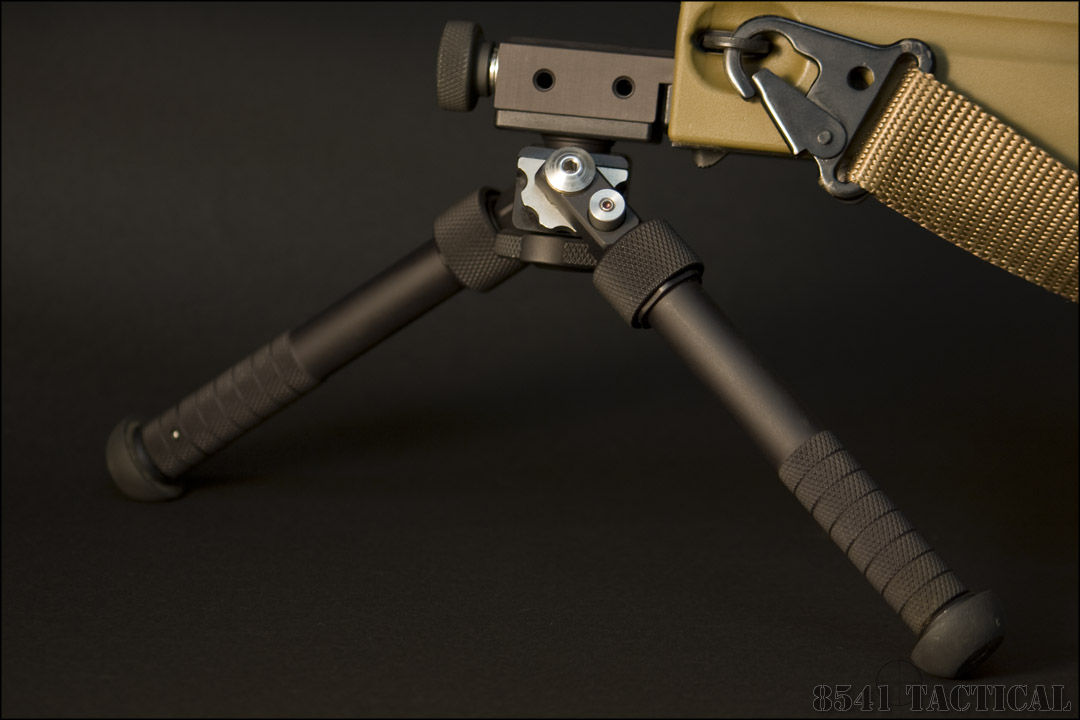
The first feature that sets the Atlas above the others is the leg positioning. With a Harris you have the choice of deployed or not. So to with a Parker Hale or AI. The Atlas allows each leg to be placed in one of five positions independently of the other at the push of a button. This allows a versatility that other bipods cannot match.
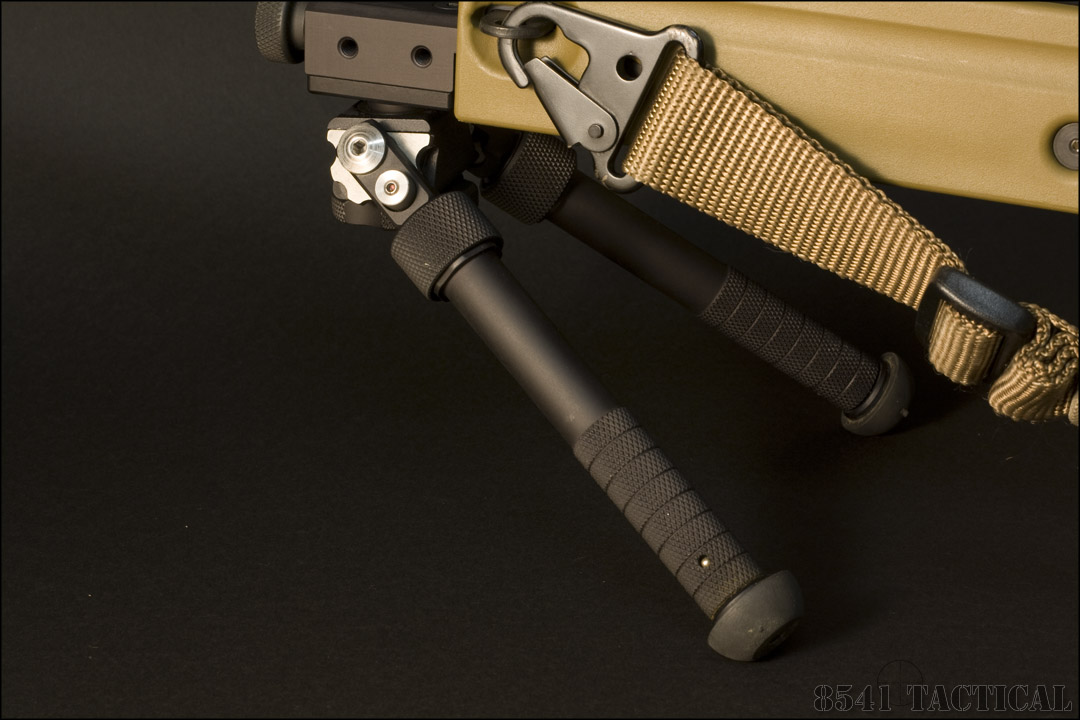
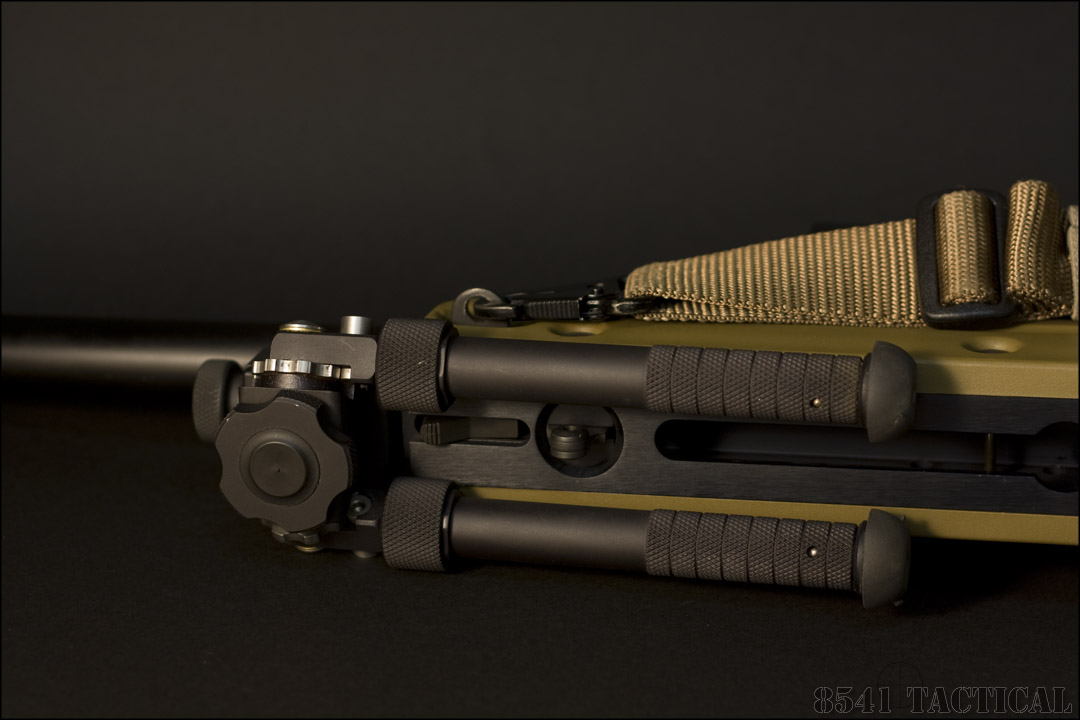
As an added benefit you can stow the Atlas with the legs to the rear. This makes for a very low profile when used with the AI Spigot adapter. The Atlas will fold and lay flat against the underside of the chassis. This removes the problem of the bipod catching on brush and springing open. Anyone who has ever had that happen before knows it's not a quiet occurrence.
With the Altas V8 legs folded to the rear the rubber feet actually touch the underside of the chassis. This provides some cushion. When shooting over barricades I will set the folded legs on the barricade and push forward slightly against the top of the feet. This appears to steady the rifle well and I have not experienced much bounce when the rifle is fired.
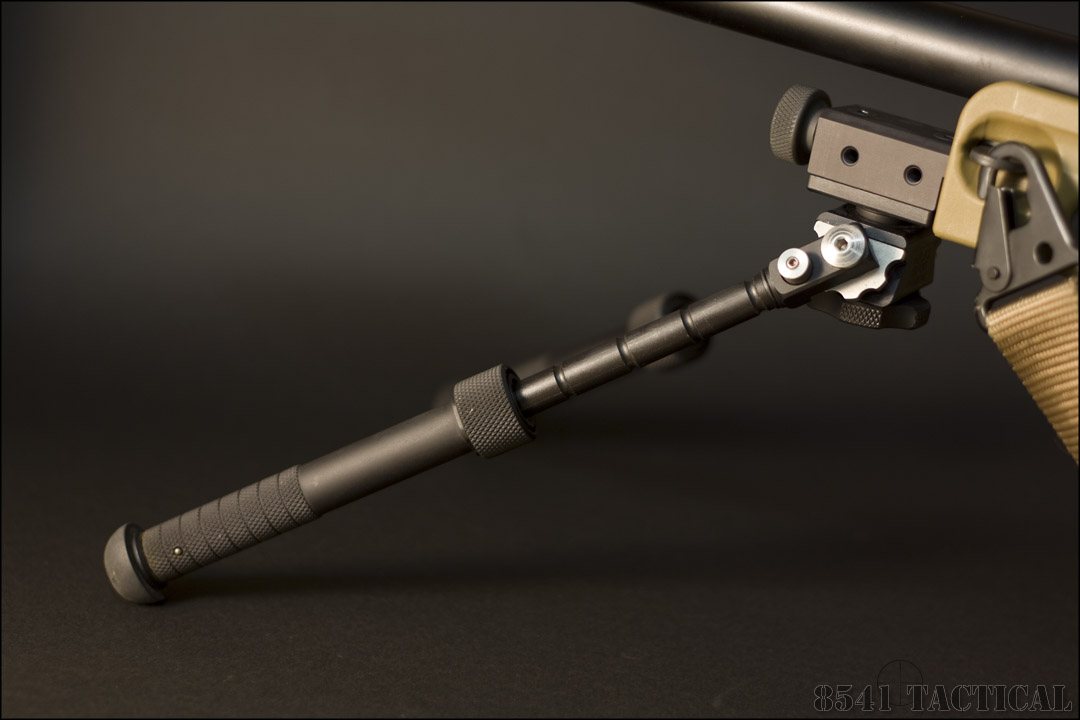
My favorite Atlas leg position has been the 45 degree forward position. With the twenty inch barrel on the AE MkII extending the legs fully allows me to place the feet almost directly under the muzzle. There have been several occasions in an urban setting that I can setup the rifle near a windowsill without the muzzle protruding. This is not possible with the Harris, AI, or Parker Hale.
 |
Atlas V8 in use on the AI AE MkII during an Evansville, Indiana Police Sniper training exercise.
Photo courtesy of Molly Bartels, Courier & Press Photographer. |
When the Altas is deployed with the legs at ninety degrees in the tradition manner it provides enough flex to place forward pressure on the rifle. This aids in keeping it planted through recoil. The Atlas allows for up to fifteen degrees of pan left to right and fifteen degrees of cant. This is enough to level the rifle on much of the ground that I have encountered. If it is not adequate for where you are at then a simple pull on the leg locking collar will deploy the legs.
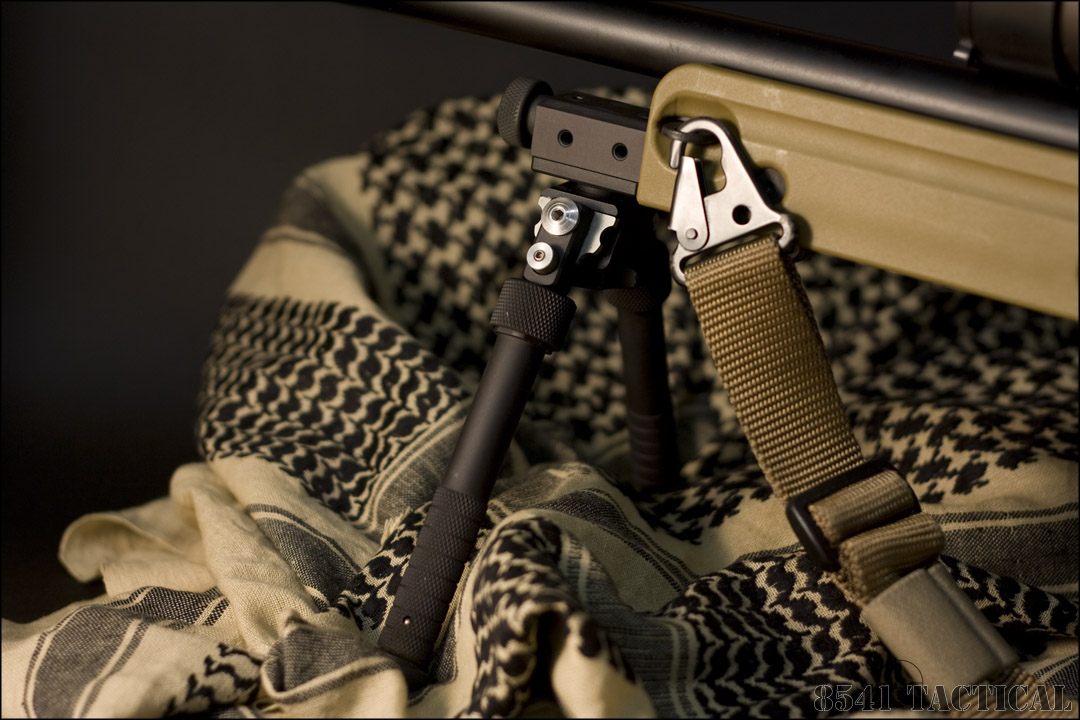
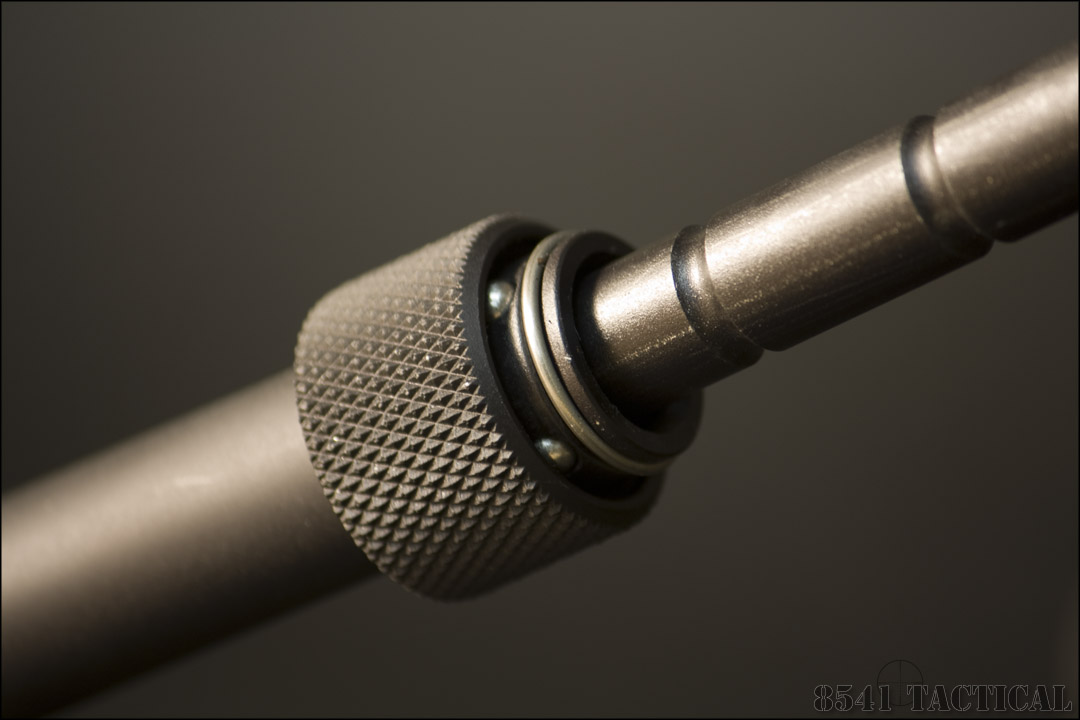
It takes some practice to become proficient in deploying the legs on the Atlas. The actual process is intuitive, but the application takes some work. The lower portion of the leg is heavily knurled. So too are the locking collars. This gives a great grip when they are wet, muddy or icy. There are two methods I use to deploy the legs. If I need them out immediately and I don't care about fine tuning my position, then it's a simple matter to just grab the locking collar and pull down. It carries the rest of the leg with it. You can either extend it fully, or release it anywhere along its path of travel. Once you have released the collar, pressure on the foot will cause the collar to spring back and lock into it's detent.
Due to the feel and action of the locking collar it is difficult to get exactly the right length. However if speed is required then precision adjustment can usually be sacrificed. If you want to fine tune the length, it is a simple matter to grip the leg with your palm and three fingers. Then reach up and pull down on the collar with your index finger and thumb. You can then set the length and release the collar. It will lock into the nearest detent and you are done.
Kasey Beltz, the designer of the Atlas stated that he is working on a revision of the locking collar to make it easier to operate. I will be waiting to see what the redesign looks like. On the Atlas V8/AI Spigot combination the collars are just the right diameter. They lightly sit on the corner of the skins when they are stowed to the rear. Any increase in diameter may prevent them from locking in this position. Judging by the design of the current version I am confident that Mr. Beltz will do a fine job on the next redesign.
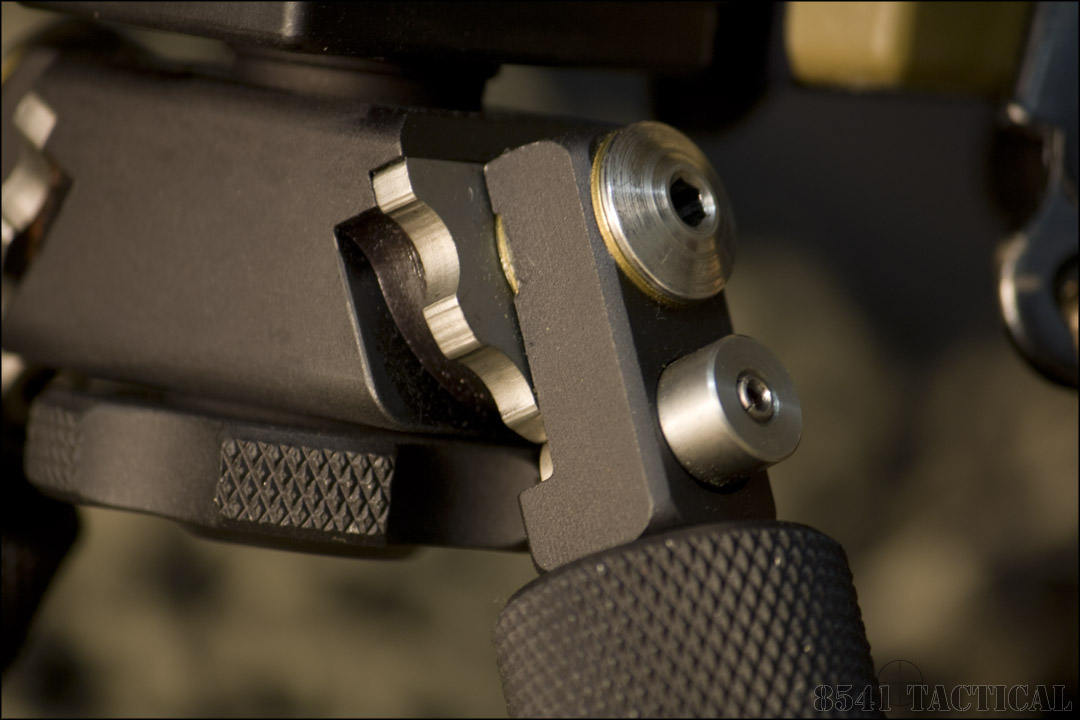
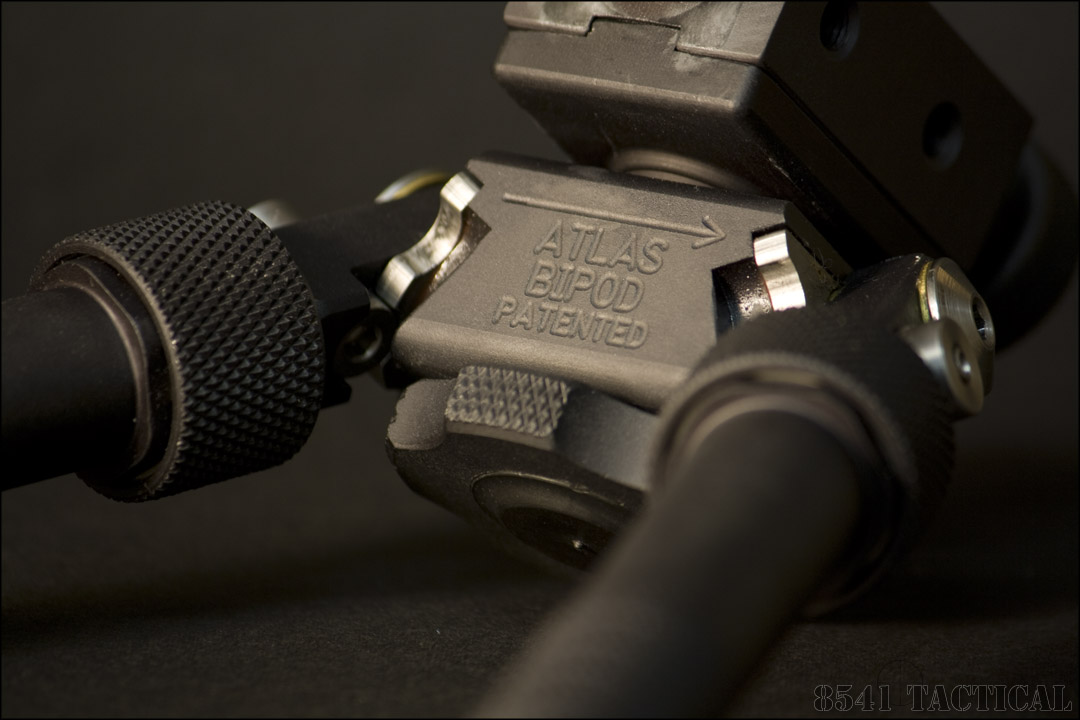
It is hard not to keep comparing the Atlas to the Harris BRM-S bipod. The Harris is by far the most popular precision rifle bipod in the US. Many of us have a couple laying around on various rifles. One feature that seems to be almost mandatory on a BRM-S is the installation of a KMW Pod-Lock. This device allows you to lock out the cant feature on a BRM-S, preventing it from rolling left to right. I personally prefer to keep some play in the cant adjustment of my rifle. However all three of our LTRs at work have them installed and the shooters like them. The Atlas V8 take care of this issue with a tensioning wheel. Both the cant and pan ability of the Atlas V8 comes from a swivel-ball type joint at the "waist" of the bipod. At the intersection of the legs is a large scalloped and knurled wheel. Turning it clockwise (in the direction of the arrow on the base) tightens the pan and cant action. Turning it Counter-clockwise loosens it. The design of the Atlas will not allow you to totally lock out the cant, but it will tighten enough that you are not going to accidentally cant the rifle. The only drawback I have seen with this design is that if you repeatedly track back and forth, the wheel can loosen up. It isn't a large problem because if you are rapidly panning less tension allows you to do so in a smoother manner.
I have been asked several times if I thought the Atlas was worth the added expense over a Harris BRM-S. As always you have to put it in perspective. Define the mission first, then equip accordingly. If you are a three gunner and you need to start with the bipod in a closed condition, then I feel the Harris may be a better option. In games like that, fractions of a second may count. If you are shooting in just about any other type of situation where precision matters, I feel the Atlas is a better option. As a tactical competition shooter and a LE Sniper I feel that the Atlas is worth the money. That doesn't mean you should run out and throw all your Harris bipods away. However if you are contemplating purchasing a new bipod, the Atlas V8 deserves a look.
At the time of this writing, it appears that demand is far greater than supply. If for some reason you aren't pleased with it, I am sure you could pass it on to another shooter for near what you paid for it.
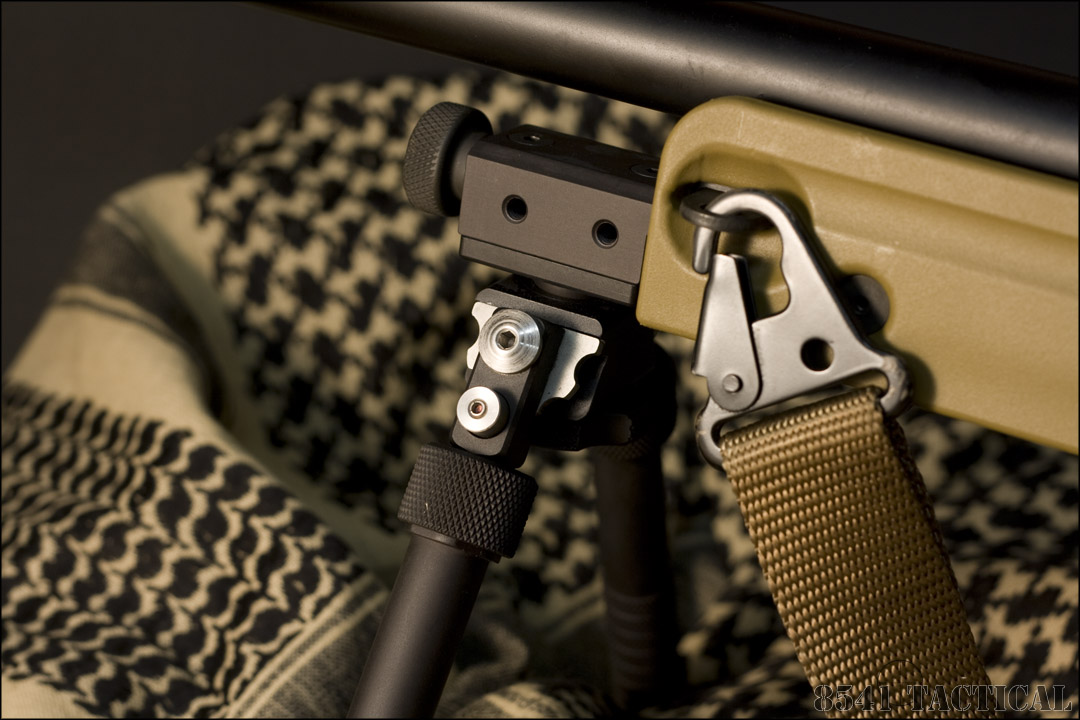
The Atlas V8 comes in one of three attachment options. You can order it with no clamp in order to install the AI Spigot adapter or your choice of rail clamp (LaRue, ADM, etc.). It is also available direct from Accu-Shot with a #17S ARMS mount. Finally you can order it with a standard two-screw rail clamp.
The AI Spigot Adapter deserves a quick mention of its own. It really is a great design and the currently available model is Version 2. Version 2 adds a tension knob to the spigot. Once you install the adapter into the AI Spigot mount there is some play. Tightening the tension knob completely eliminates the movement and allows the Atlas to control all cant. The AI Spigot Adapter has threaded holes on both sides to accept Picatinny accessory rails. Our AI is already a portly beast so we opted to leave the rails off for now. If you want to use your Atlas on several different non-AI platforms, there is a simple solution for that. Instead of mounting the Atlas directly to the bottom of the Spigot Adapter you can use one of the rail clamps and then install a Picatinny rail section to the bottom of the Adapter. This will allow you to quickly swap the Atlas onto any rail equipped rifle.
If you would like to mount a clamp equipped Atlas to an AI Chassis, but do not want to use the Spigot, Accu-Shot has a rail section that will mount to the AI Chassis handstop slot.
The only drawback to the Atlas so far is that there is no sling swivel stud mounting option. If you have a stud equipped rifle, you will need to install a Picatinny rail section on the bottom to accommodate the Atlas. Several companies including Accu-Shot and Seekins Precision manufacture rails specifically for this purpose.