 |
|
Ads are chosen by Google and not necessarily endorsed by this website. |

M700 Picatinny Scope Base Install
by John McQuay
03.02.11
|
|
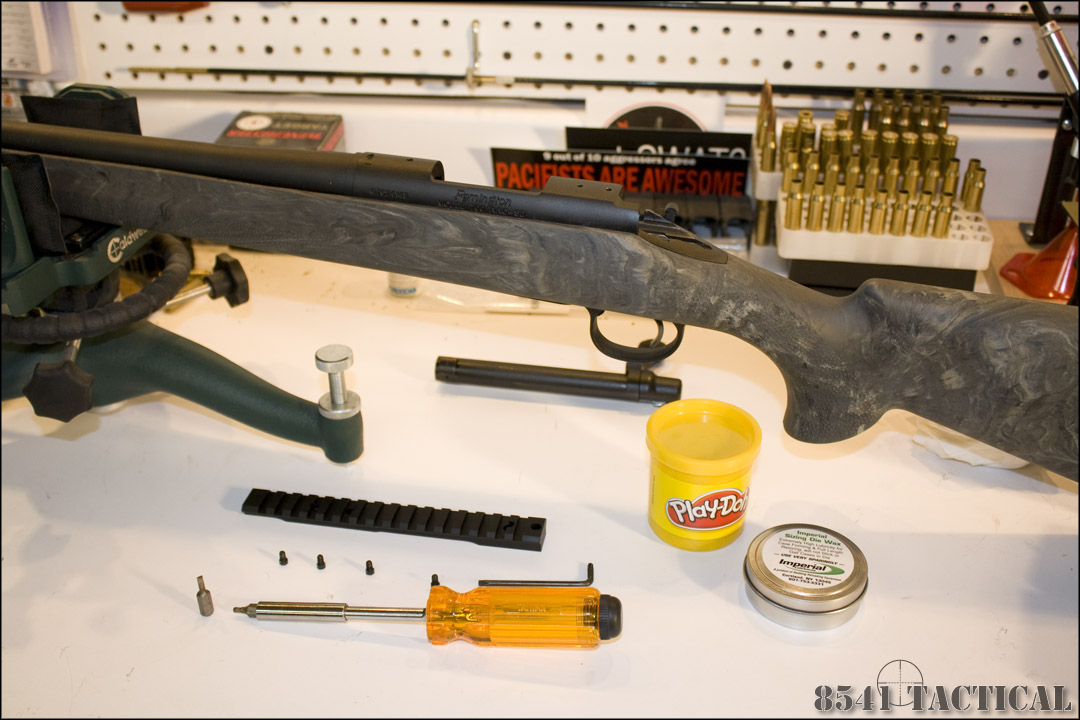
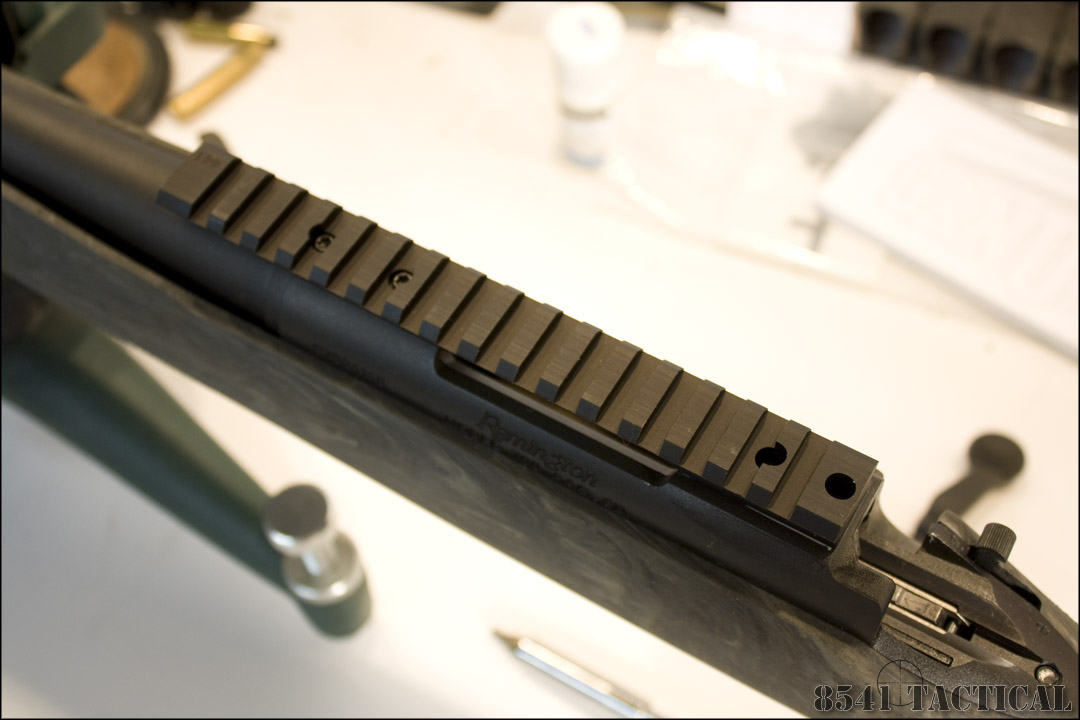
The first step in any optics installation is properly mounting your scope base to the rifle receiver. If this is not done correctly all other operations become more difficult.
For our Budget Precision Build we chose the Weaver Tactical Extended Multi-Slot Base. This base provides an excellent balance of price and quality. |
 |
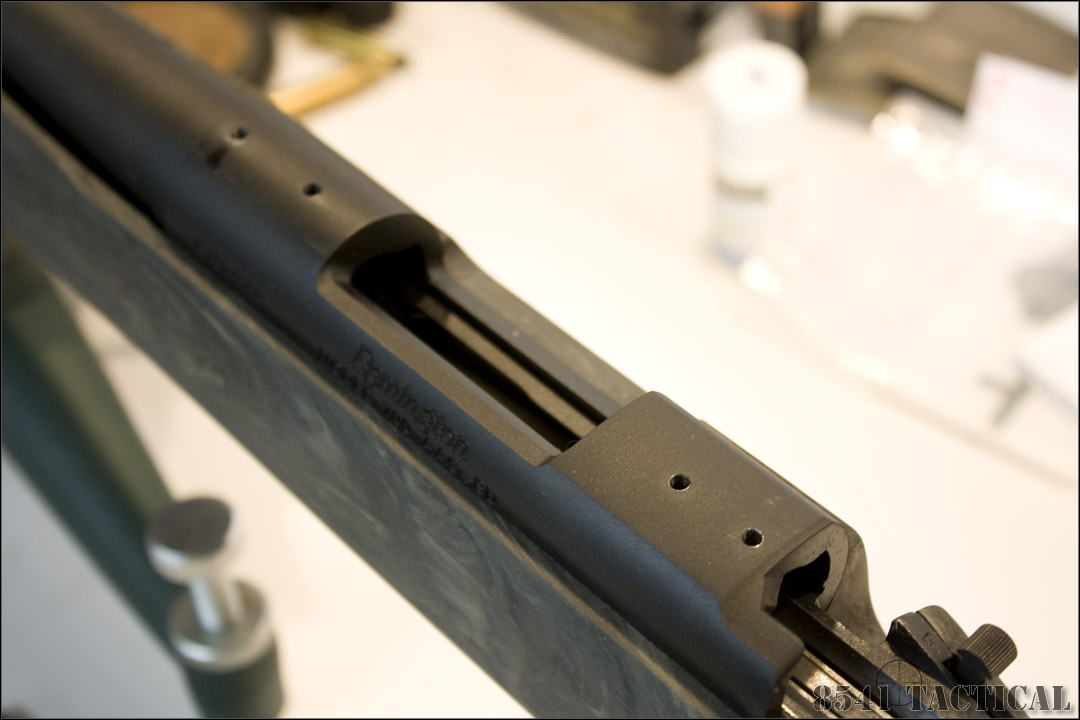
First we start by removing the screws filling the mounting holes on the receiver. Clean the top of the receiver off and ensure that there are no burrs that will prevent the base from sitting flat. |
 |
 |
Begin by setting the base on the receiver and snugging down the front two mounting screws. They don't need to be torqued. They just need to be tight enough to hold the front of the base down.
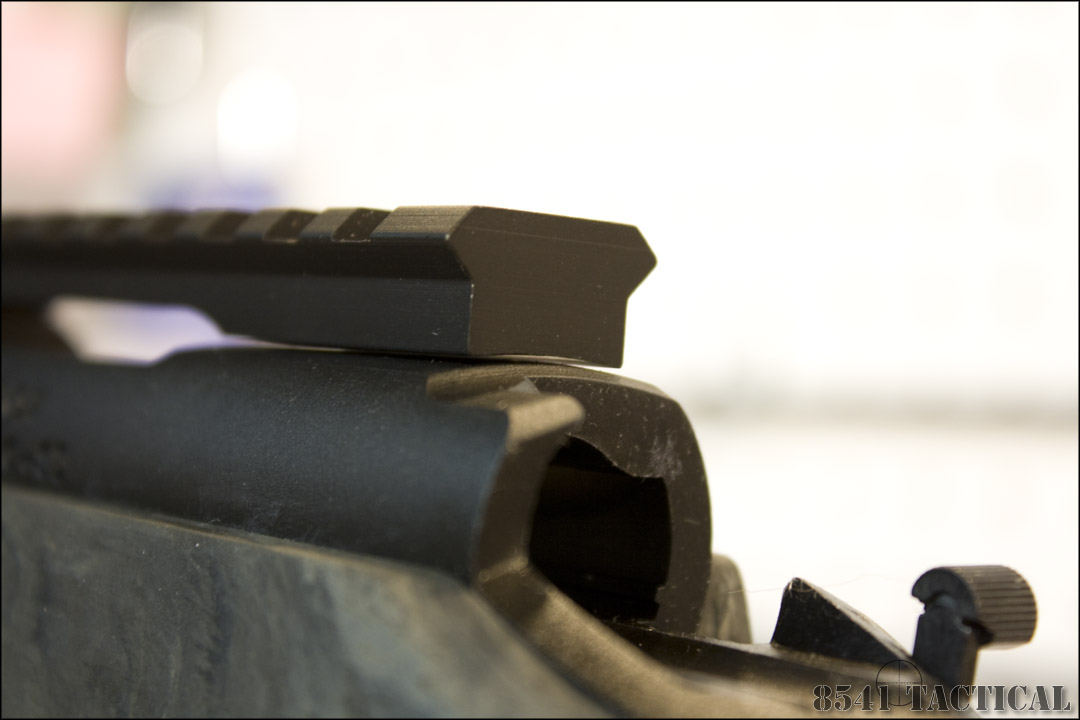
Once you have the front screws snug, check the back of the base for fit. If there is an air gap at the back of the receiver, then you will need to bed the back of the base.
If there is no space, then you need to repeat the operation, but place the screws in the back of the base and check for a gap at the front. |
At this point you will need to select a compound to use as a release agent. This is to keep the base from becoming glued to the receiver. I use Imperial Die wax. It's effective and I have a couple tins laying around for reloading rifle brass.
Other options are shoe polish, car wax or commercial fiberglass mold release agent.
You will also need something to prevent the epoxy bedding compound from entering the screw holes and creating a mechanical lock. If this happens you may not be able to remove the base from the receiver and you will need to drill out the offending material. Then tap the screw holes to clean them up.
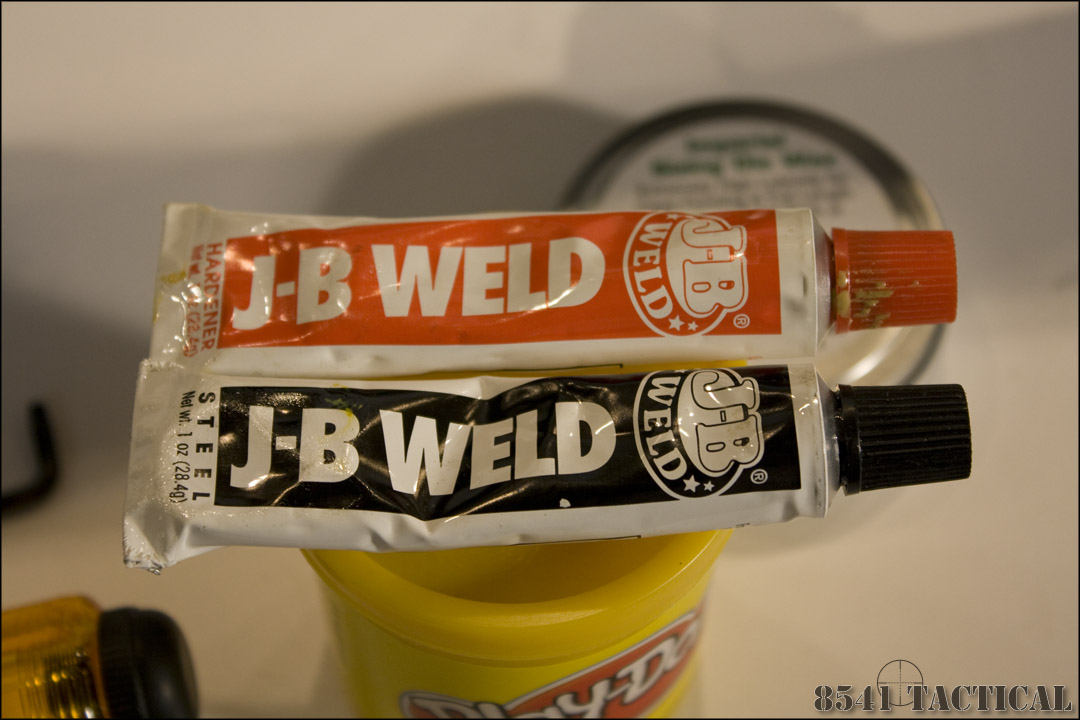
I like to use Play-Doh for this. Mainly because I have kids and always have Play-Doh around the house. I don't do enough of these installs to need a dedicated material. It's cheap and very easy to find. Modeling clay will also work well. |
 |
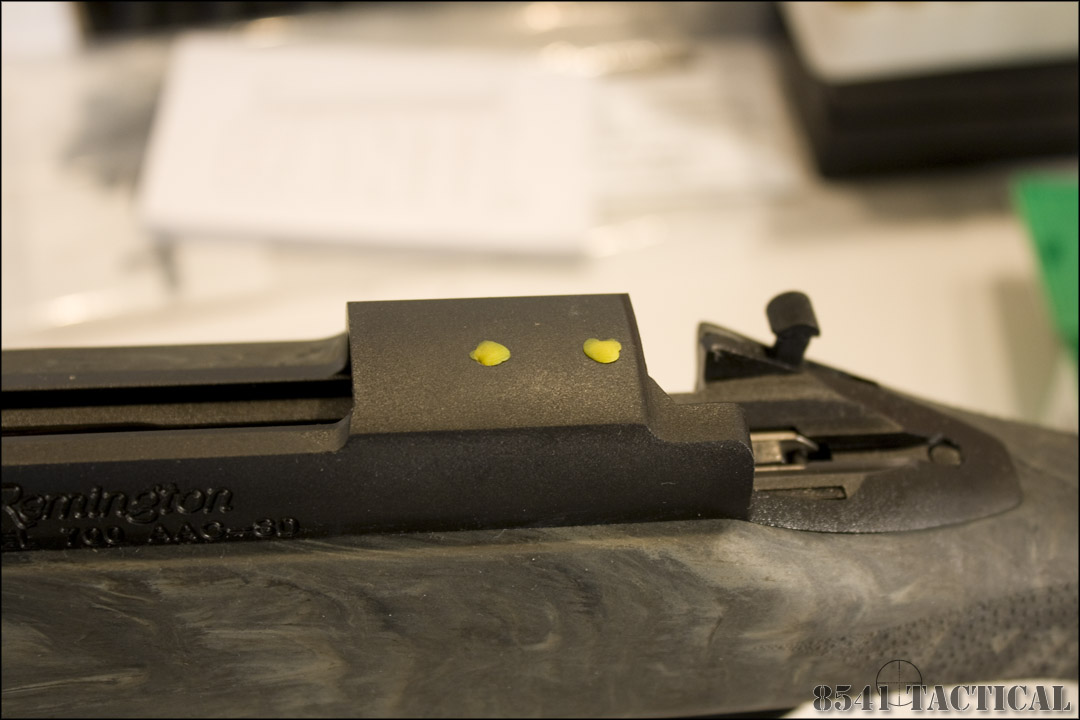 |
Begin by covering the area with the release compound. You don't want it thick. You just want enough to prevent the base from sticking.
Ball up a very small amount of Play-Doh and press it into the screw holes. You don't want to press too hard because the Play-Doh will squeeze through into the interior of the receiver.
You do not need to get the Play-Doh perfectly flush with the receiver. |
| For the bedding compound we will be using JB Weld Steel epoxy. JB Weld is readily available at most hardware stores. It mixes and applies easily and cures to a durable material. |
 |
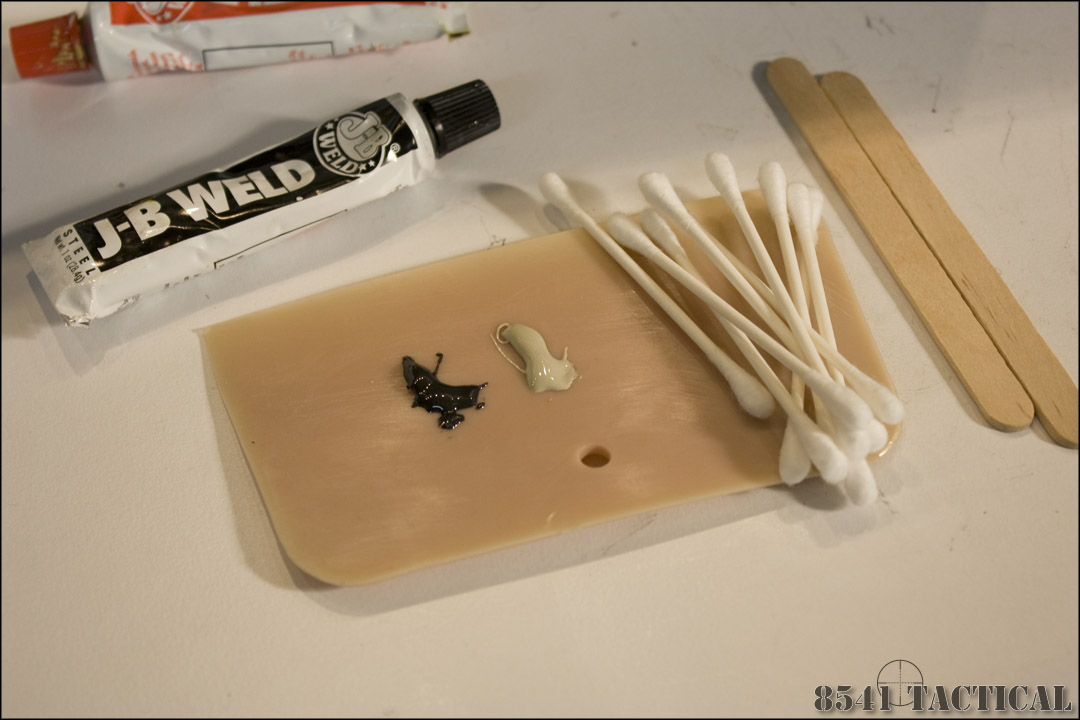 |
Locate a surface to use for mixing. I prefer to use a Bondo scraper to mix on. It is easy to clean and reusable. However a piece of clean cardboard will also work.
Squeeze out an equal strip of material and hardener. Use a popsicle stick to mix the two strips together. Continue to mix until you have an even gray color with no swirls or stripes. |
Clean the bottom of the base with acetone or denatured alcohol to remove any oils or contamination. Do not touch the area after cleaning.
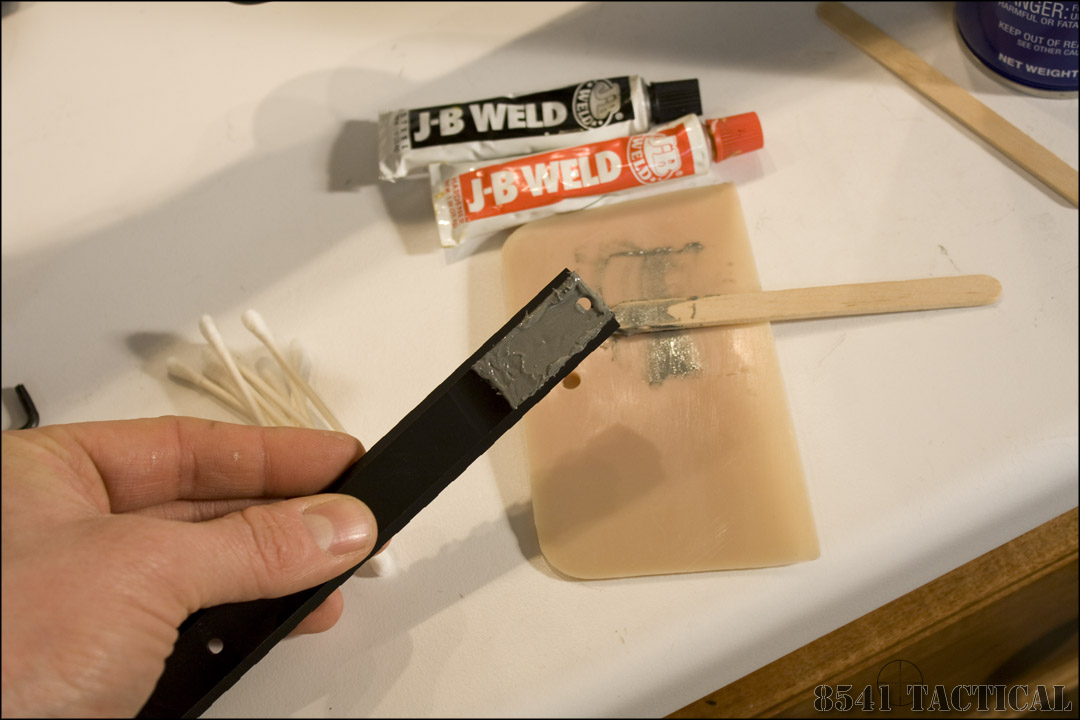
Use your popsicle sticks to spread the epoxy bedding on the bottom of the base. |
 |
 |
Make sure you have a nice even coating on the bottom of the base. Too much is better than too little. You need to avoid leaving voids. |
Once you have prepared the base, set the front of the base (not covered with bedding) on the receiver and start the screws. Begin tightening the screws while lightly supporting the rear of the base.
As you tighten the screws they should pull the rear of the base down.
Hold forward pressure on the base to keep the recoil lug seated against the front of the ejection port.
Resist the urge to press down on the base. We do not want to squeeze out any more bedding material that necessary. |
 |
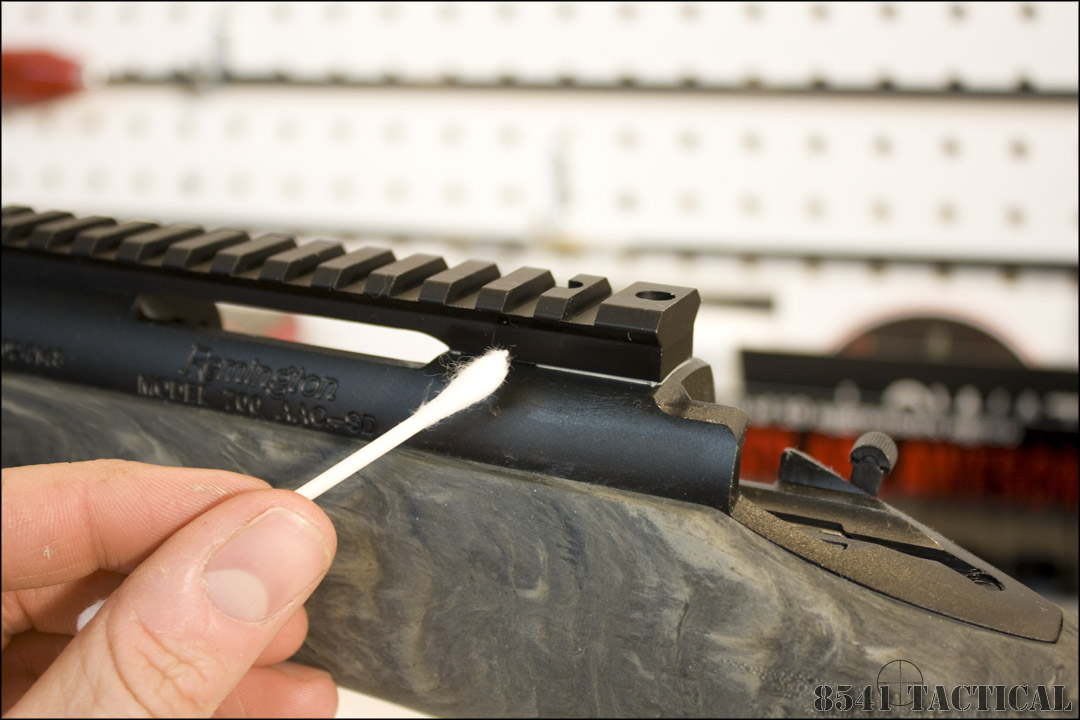 |
Once the front screws are snug, it's time to clean up the excess bedding.
For this I like to use Q-Tips and WD-40. The WD-40 acts as a solvent and dissolves the JB Weld. Use it sparingly.
We are only attempting to remove what squeezed out. Take care not to push on the base or otherwise disturb its position. |
Once you have cleaned up the excess bedding. Leave the assembly alone for 4-5 hours. This will give enough time for the begging to "set up" but not fully cure.
After 4-5 hours, remove the base from the receiver. You may then use an appropriate sized drill bit to clean out the mounting holes in the base. I prefer to turn the bit by hand to prevent any possible damage to the base.
If you allow the bedding to set for too long it may be too hard to turn a drill bit by hand.
I also like to use an X-acto knife to chamfer the bedding around the mounting holes. |
 |
|
Once you have cleaned up the bedding, re-mount the base using the front holes and allow the bedding to fully cure. Once it has cured you may install and torque all of the fasteners to the included specifications (usually 15-20 in/lbs). I like to start at the front and snug them down front to back. I then go back and torque them in the same order.
You may now install your scope rings and optic. |
|
- Budget Precision Build Index -
|
|
|
|
Copyright © 2011 8541 Tactical
|
Ads are chosen by Google and not necessarily endorsed by this website. |