 |
|
Ads are chosen by Google and not necessarily endorsed by this website. |

Tactical Precision Systems (TPS) TSR Ring Installation
by John McQuay
07.19.11
|
|
Rings serve a very important role. They hold your sighting system in relation to the bore of the rifle. If this is not perfectly consistent, then you will never realize the accuracy the rifle is capable of.
Rings do not need to be expensive to work correctly. They do need to be high quality and then need to be installed correctly. Even the highest quality rings can slip if they are not correctly installed.
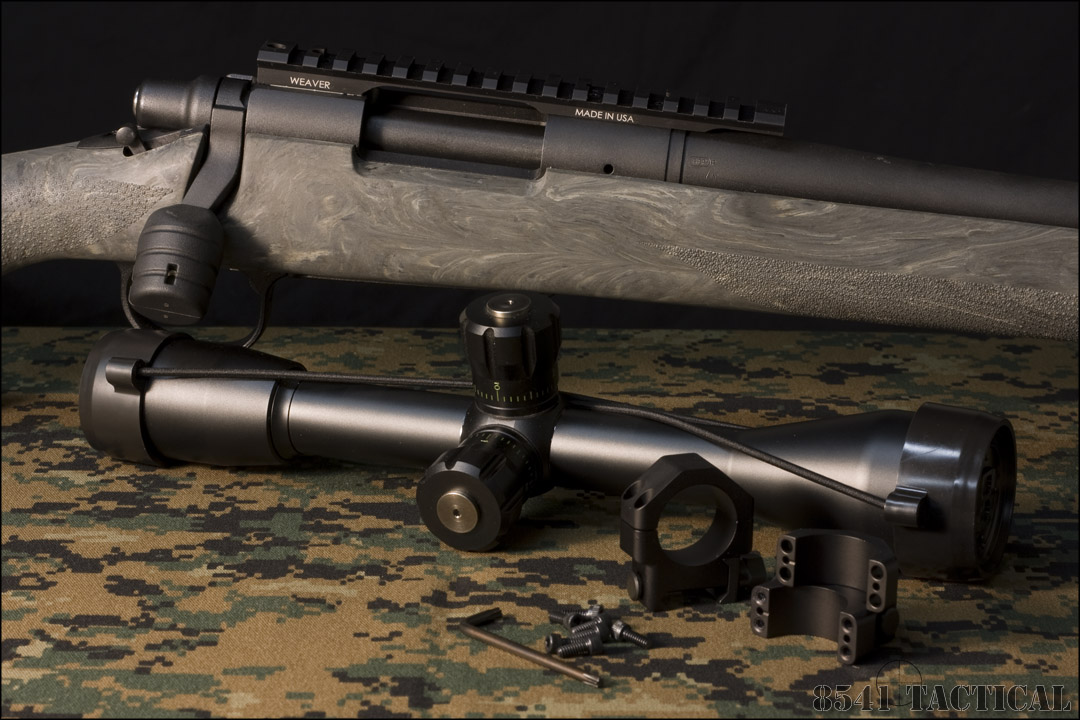
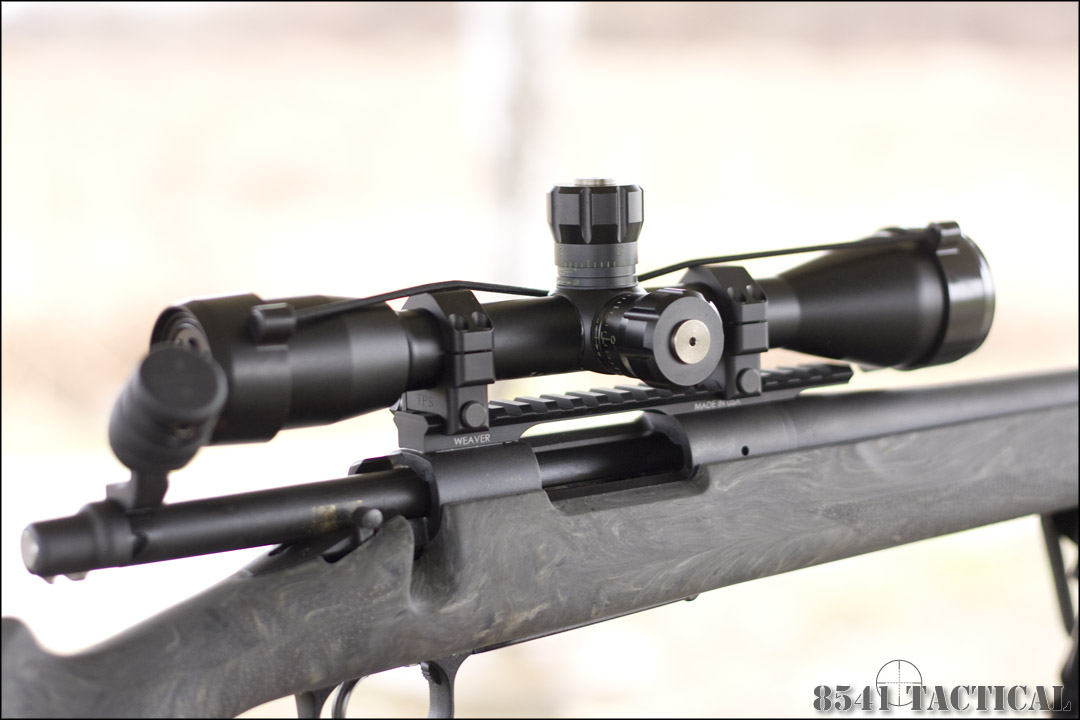
For our "Budget Precision" build series we chose a set of TSR Low rings from Tactical Precision Systems (TPS).
|
 |
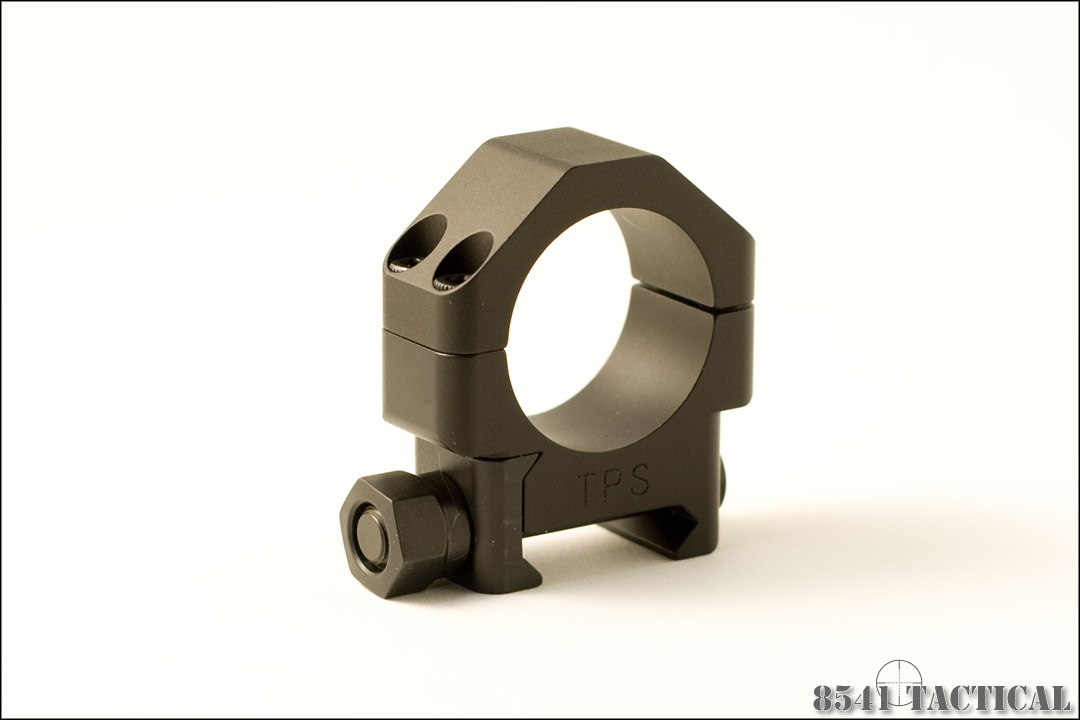
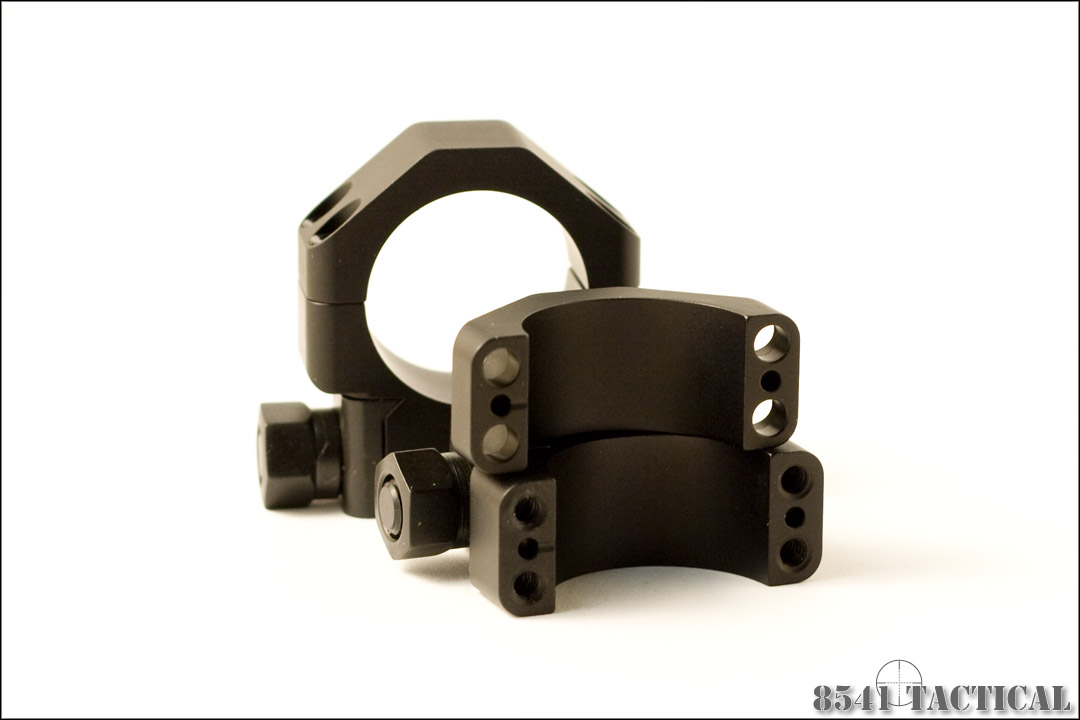
TPS TSR rings are designed for Picatinny spec rail systems. The TSR rings have an interesting design feature. The right side of the ring is designed with a .020" gap when the left side is fully tightened. This novel idea prevents the "back and forth" process of tightening in an attempt to get equal gap on standard rings. Additionally this allows the left side to be snugged down while still retaining enough clearance to rotate the scope for proper crosshair alignment. |
 |
 |
We begin by properly supporting the front of the rifle. You can do this with a bipod, beanbag, backpack or whatever you have at hand.
Remove the screws from the ring caps. Set the caps aside. I like to make sure that I keep track of which cap goes on which ring base. With some rings it will matter. Some are marked, some are not. With the TSR rings it does not matter. The instructions from TPS make no mention of this so it may not matter with their design.
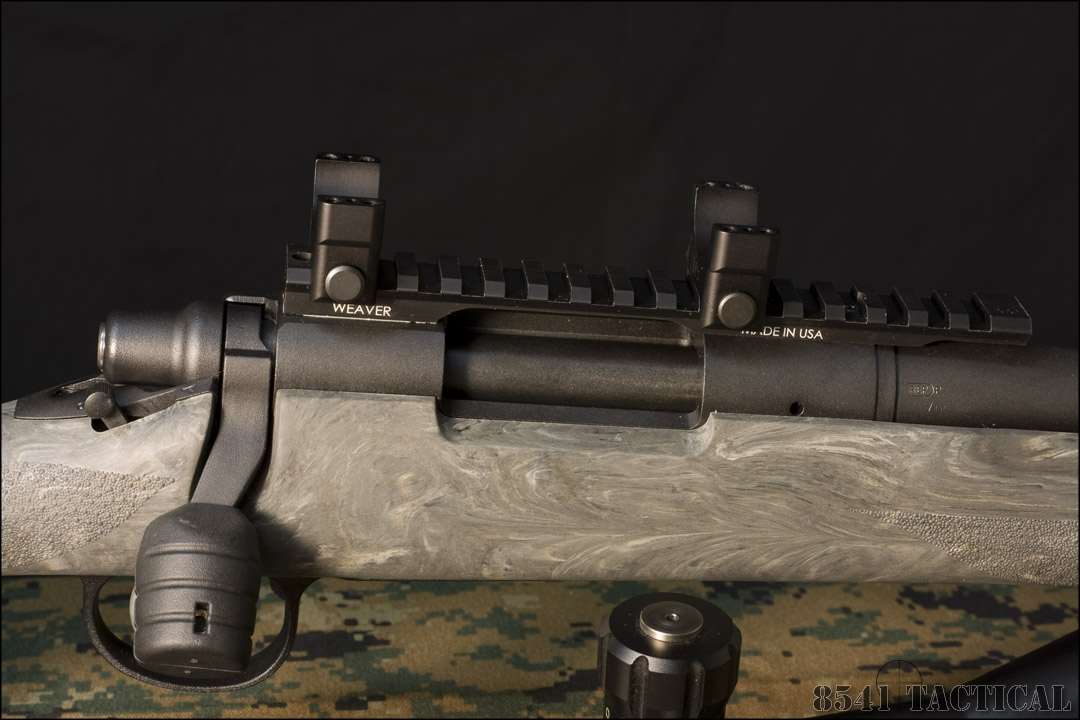
Before placing the ring bases on the rail you need to decide which side you want the fastening nut to be on. I am a right handed shooter and I run right handed rifles. I prefer for the mounting fasteners to be on the left side of the rifle. This is the side opposite the bolt handle and loading port. |
| This leaves the right side of the rifle as clean and snag-free as possible. If you are installing these rings on a left handed rifle, then you may want to reverse the process and place the fasteners on the right side. In any case, it is generally a good practice to keep the fasteners opposite of the loading port on the rifle.
Once you have decided on the direction to mount the rings, place the rear ring base in place on the rear most slot. Leave the ring base loose on the scope base. With your fingers, press forward on the ring base so that it is tight against the front of the cross-bolt slot on the scope base. Now snug down the cross-bolt finger tight.
The purpose of pressing forward while snugging the cross-bolt is to pre-load the rings forward before installing the scope. When the rifle fires, the action of the bullet moving forward and the gasses expanding behind it push the rifle to the rear. Since there is no equal action pushing the scope, it wants to stay where it is. This means it is effectively moving forward in relation to the rifle. If there is any space between the cross-bolt and the next lug of the scope base, repeated firing will cause the rings to slip forward to take up this space. This can cause a shift in zero. If one ring is against a lug and the other is not, this can also cause force to be transferred unevenly to the scope. I can't tell if this would cause damage, but it can't be a good thing.
|
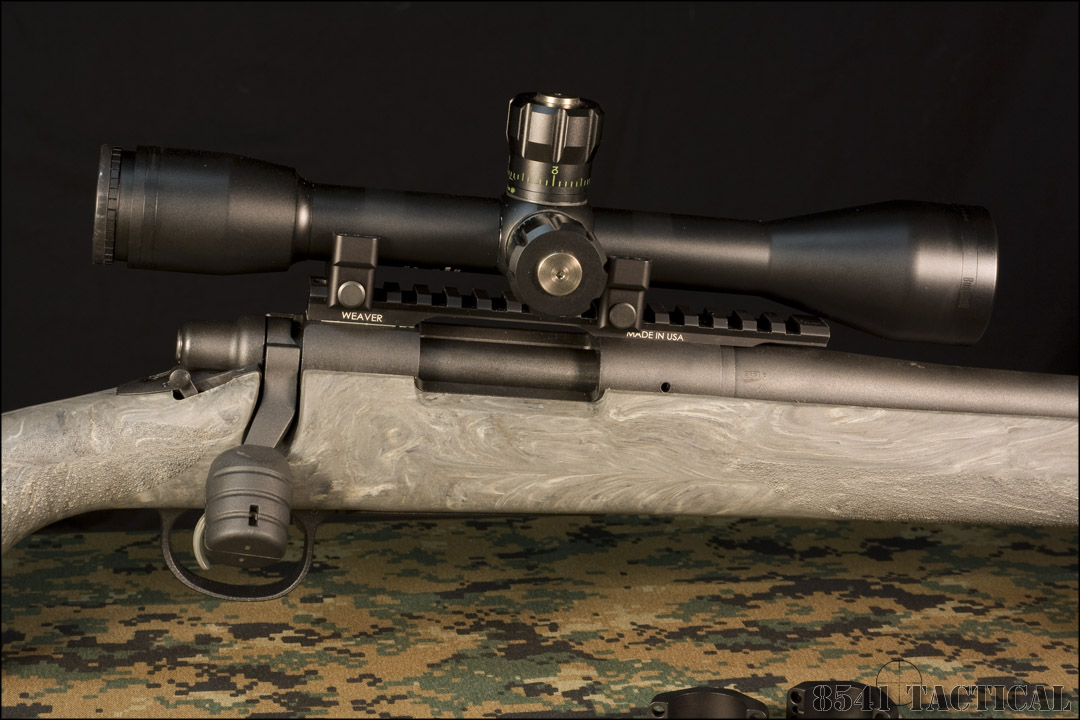
Once you have the rear ring base snugged down, set the scope in place. You will have to support the front of the scope. Slide the scope forward until the ocular bell (rear housing) of the scope is close to touching the ring. This is as far forward as your scope can go. Look at where the front of the turret housing (piece with the knobs) sits. Place the front ring base just in front of the turret housing.
This may not be where you end up, but it's a good place to start with a small body scope like our Bushnell Elite 3200 10x.
|
 |
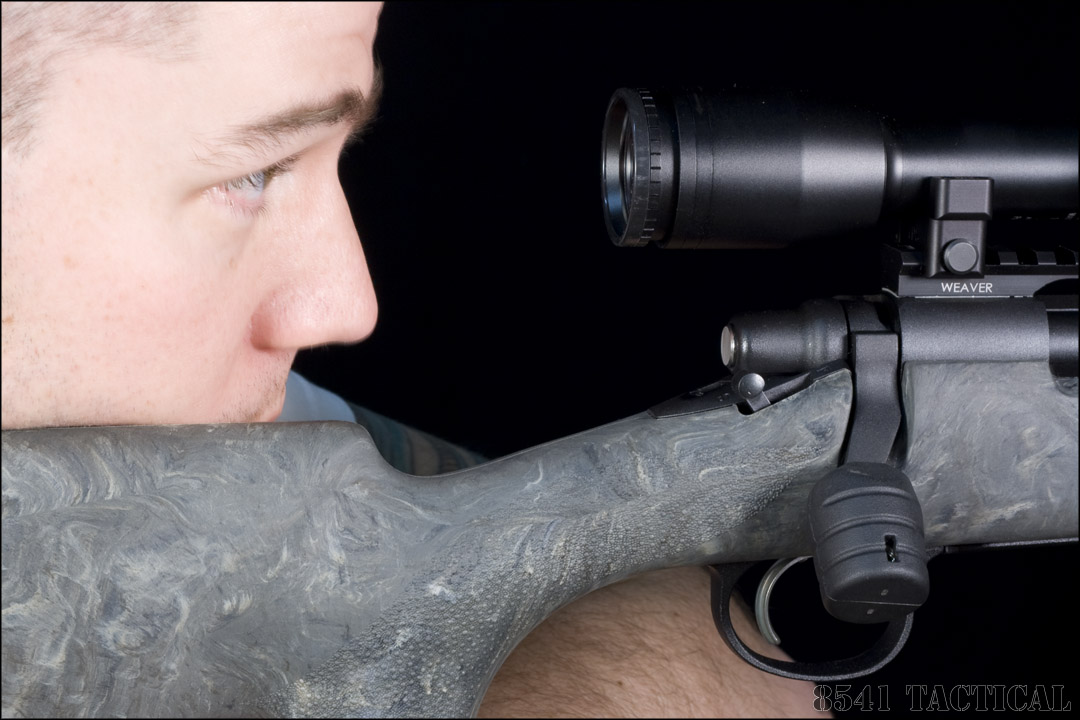 |
Now remove the scope, place the rifle on the floor and replace the scope. Get behind the rifle, close your eyes and get comfortable. Pretend you are going to have to lay in this position for hours. Make sure there is little to no tension in your neck. Now open your eyes. |
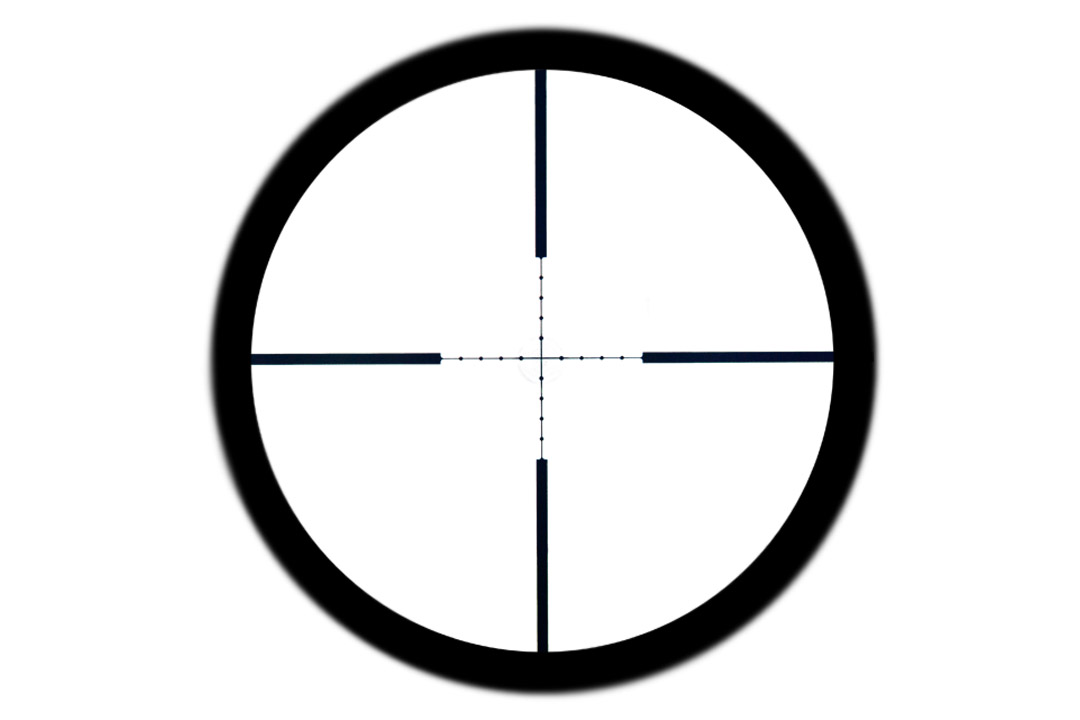
With the AAC-SD your eye will more than likely be too low to see through the scope. Raise your head up a little without moving forward or back until you can see through the scope. You may need to move the scope forward or back until you can see a clear sight picture. It should look something like the image to the right.
The outside of the circle should be slightly blurry. The inside circle should be sharp in focus. If the inner ring is blurry you need to slide the scope forward or back until it is clear. When it's clear, check that you have about 2-3" of space between the back of the scope and your eyebrow. |
|
Damage Control.
At this point it is critical that you STOP and make sure everything is fitting together properly. With the huge number of combinations on the market it is very easy to get rings that are too low for your scope or a base that is too long. In general, the lower the rings the better. With traditional rifle stocks the comb is low compared to the bore of the rifle. This usually places your face too low to get a comfortable cheek weld and still achieve a proper sight picture through the scope. Taller rings simply exacerbate the problem.
With our combination we found that we had interference between the front of the scope base and the objective bell (front housing) of the scope. This can frequently be a problem with extended mounting rails and short scopes. If we were mounting a longer variable power scope, this would probably not be an issue.
When this occurs you have three solutions. You can install taller rings. As we mentioned earlier, this is a poor choice. You can install a different base. However in our case the base is already bedded to the receiver. We sure can't return it and going with a different base would cause us to have to go through that process again.
The most simple and cost effective solution is to just cut off the offending portion of the rail. This is the route we went. In fact it's such a simple process we didn't even photograph it. Just remove your scope base screws. Clamp the base in a vise or to a table. Be careful not to clamp on the bedding area. Be very careful not to crush the base. It's aluminum and doesn't need gorilla force. We just want to make sure it doesn't go anywhere.
Grab a hacksaw or Dremel and cutoff wheel. Choose how much you want to trim off. For cosmetic purposes, you want to cut just in front of a lug. In other words, you want to make your cut in a "slot" on the base. When you are done, grab a file and clean up the cut until it is even with the next lug. If looks are important to you, then you may want to switch to sand paper for a nice smooth finish.
Once you have trimmed your base and you are sure you got enough cut off, pickup some Birchwood Casey Aluminum Black. It goes on extremely easy and looks just like the black anodizing that was originally on the piece. Since the front of the rail is protected by the scope, you are not loosing any real wear resistance.
|
 |
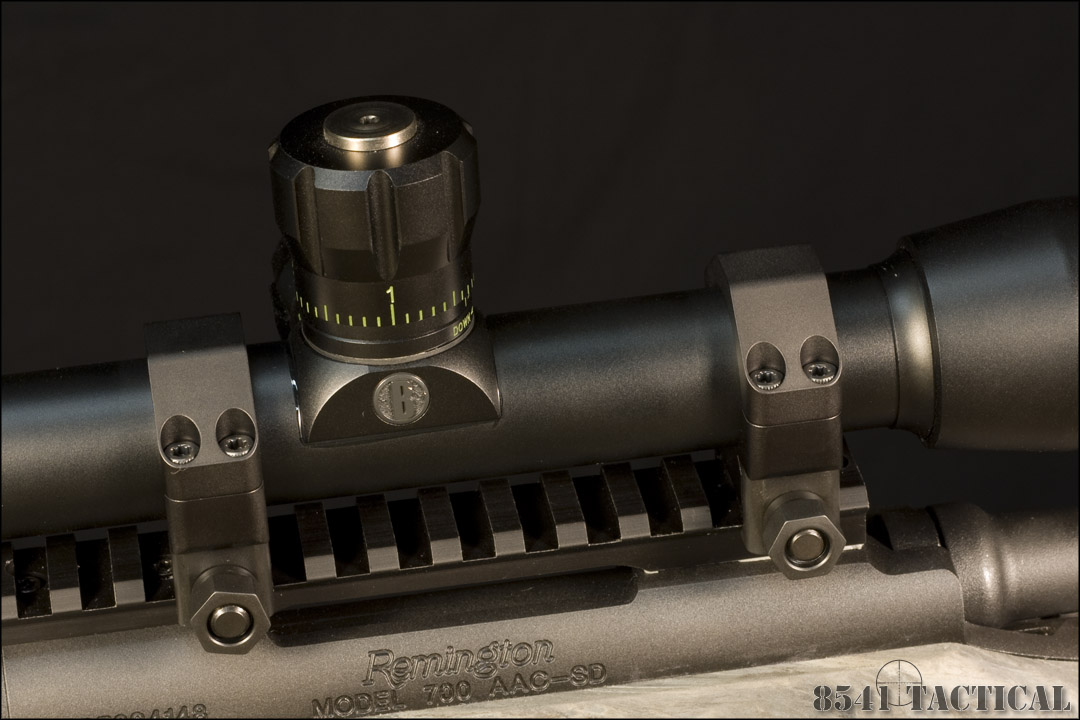
Once you have determined that the scope base does not contact the scope, it is time to set the ring caps in place. Notice that on the TPS rings there is an index mark in the base and cap. The marks must line up when you install the caps. |
Set the ring caps in place then insert the screws on the left side of the rings (side with the index mark). Snug them down finger tight with the included torx wrench. (T15 Torx). |
 |
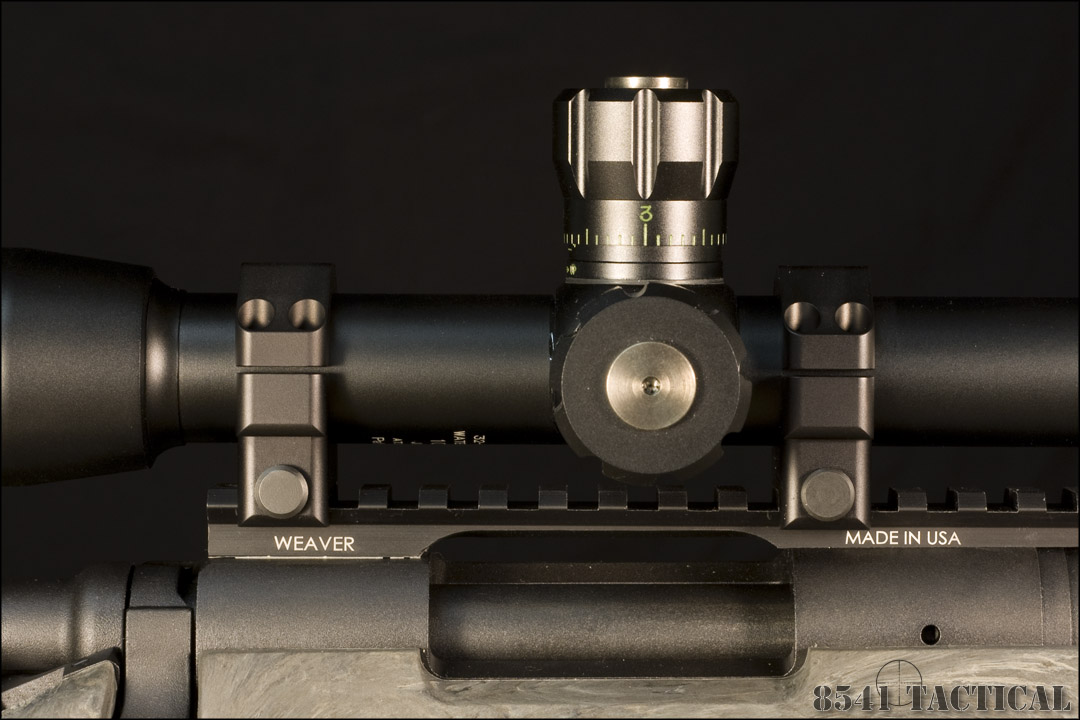 |
After snugging down the left side screws you can see the gap in the TSR rings. As we mentioned earlier this is a design feature. It is to allow enough clearance to rotate the scope.
The next step is to level the reticle so that the vertical stadia line intersects the bore of the rifle. This is necessary to keep the point of impact tracking on the vertical line absent the effects of wind. If the reticle is canted to any great degree, when you dial an elevation correction into the scope you will be unintentionally adding windage at the same time. |
There are a number of methods to level the reticle. Some use bubble levels, shims and other tools. The feeler gauge method is a favorite. This is where a stack of feeler gauges are placed under the turret housing in order to keep it's flat bottom parallel with the top of the scope base. Unfortunately this method will not work with the Elite 3200 10x because the bottom of the scope is not flat.
There are several bubble level methods that measure off of the top of the elevation turret. I am not sure of the accuracy of these from scope to scope, since it is very east to have a small variation magnified with tall turrets.
The method I like to use is both simple and cheap, however it takes a little care. I set the rifle into a rest or support it with a bipod and rear bag. I make sure that the rifle is perfectly vertical and not canted to either side. Without disturbing it, sight through the scope and rotate the scope until I can see that the vertical stadia line (crosshair) points directly down and through the back of the bolt shroud. If you draw a line continuing from the vertical crosshair down, it should perfectly bisect the back of the bolt. If it does not, then rotate the scope until it does.
Once you have this set, mount the rifle and sight in on a reference line. It can be the side of a building, a door, or even a string with a weight hanging from it. Anything that you know is perfectly vertical or horizontal. It should be fairly apparent if you are canting the rifle to line up the reticle.
After leveling your reticle it's time to go back and torque all of our fasteners. Start with the cross bolts holding the rings to the base. They should be torqued to 65 in/lbs.
Next we move to the cap screws. You should begin by torquing the left side (side with the index mark). Then move over and torque the right side to spec. This method only applies to TPS rings. Standard rings should be torqued in a "criss-cross" method to retain proper gap on both sides and to prevent the scope tube from rolling in the rings.
The instructions TPS includes with the TSR rings state that the caps should be tightened with the included wrench only. They go on to state that no other means should be used to tighten the cap screws. When in doubt always do what the manufacturer says. However I dislike relying on hand strength alone as an indicator of proper torque. For our setup we used a torque wrench and applied 15 in/lbs of torque. This is adequate for screws of this type and should not strip aluminum threads. |
After torquing your fasteners down, check to make sure your reticle is still level. If your reticle is still plumb, then it's time to take your rifle to the range and zero the scope.
In Part 3 we will cover how to bore sight and zero a Mil/Mil scope and then run some accuracy tests on our right in it's factory configuration. |
 |
|
|
- Budget Precision Build Index -
|
|
|
|
Copyright © 2011 8541 Tactical
|
Ads are chosen by Google and not necessarily endorsed by this website. |